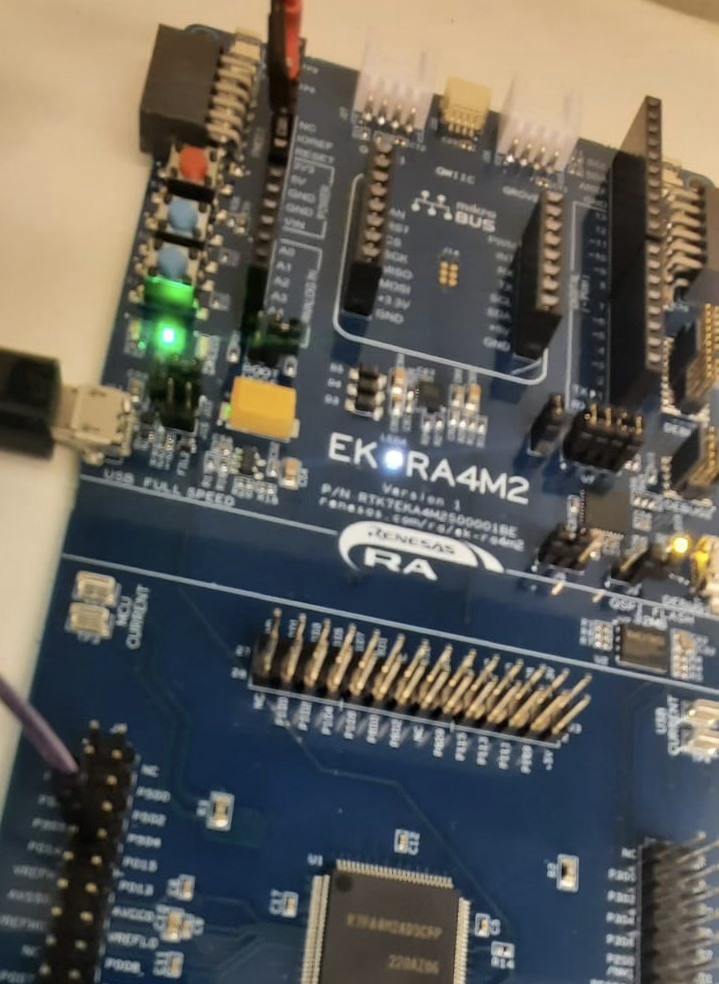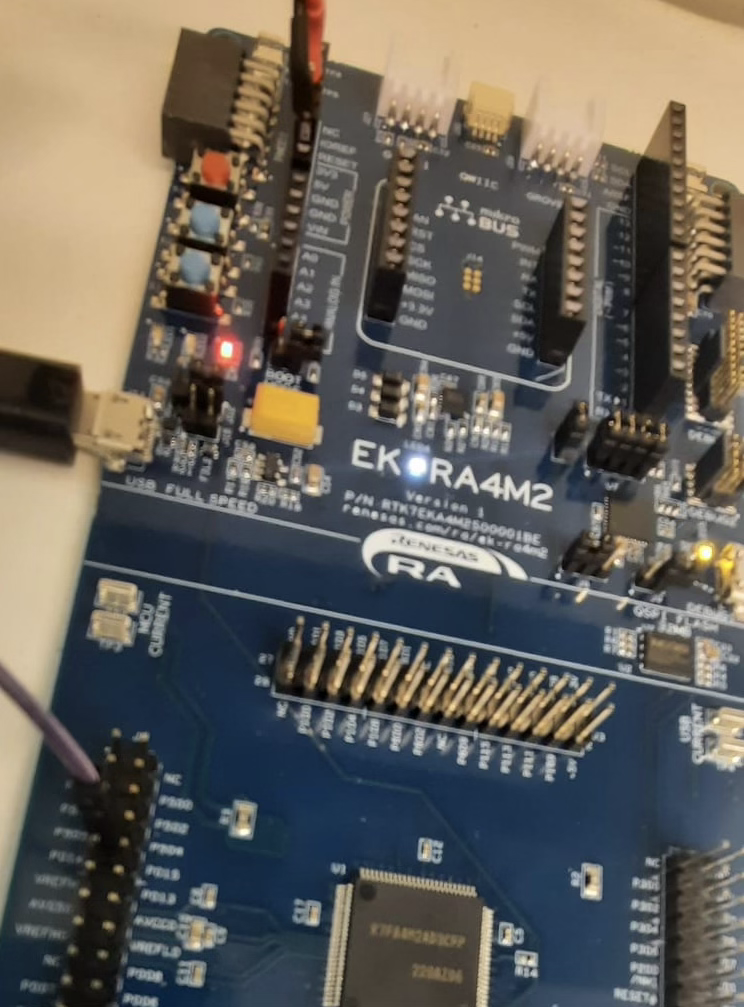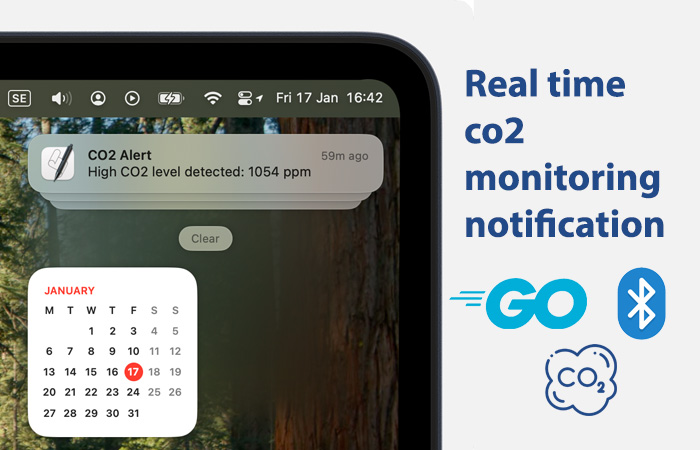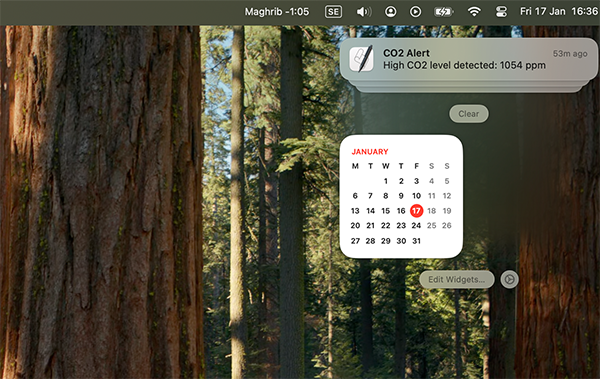
Indoor air quality is crucial for maintaining a healthy living and working environment. HibouAir is a powerful air quality monitoring device that provides real-time data on CO2 levels, temperature, humidity, and air pressure.
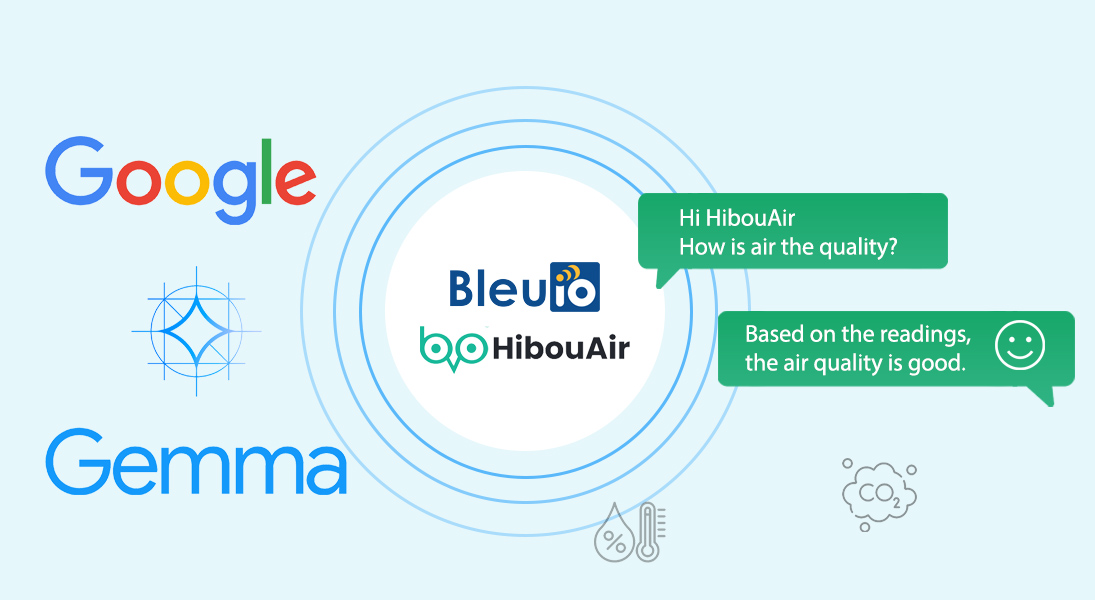
This project demonstrates how BleuIO enables communication with HibouAir, allowing real-time environmental data to be retrieved, while Google’s Gemma model processes and analyzes the data to provide meaningful, easy-to-understand responses through a chat interface.
Users can interact with HibouAir’s smart assistant and ask questions such as:
- “What is my room temperature?”
- “What is the humidity level?”
- “How is the air quality in my room?”
The system retrieves real-time sensor data from HibouAir and provides contextual recommendations based on environmental conditions.
By leveraging Google’s lightweight Gemma model, this project ensures efficient and intelligent analysis of air quality data, making it accessible for various applications, from smart homes to research.
Features of This Project
- Live CO2, Temperature, Humidity, and Pressure Monitoring
- Google-Powered Analysis for Meaningful Insights
- Conversational Chat Interface (“Chat with HibouAir”)
- Completely Local – No Internet Required
- Lightweight & Efficient Processing with Gemma
Step-by-Step Guide: How It Works
Install Required Software
We need:
- BleuIO for Bluetooth communication.
- Ollama to run Google’s Gemma model locally.
- HibouAir for air quality monitoring
- Gemma for efficient data analysis and meaningful responses.
Install Python Dependencies
pip install flask bleuioInstall Ollama (For Local Processing)
For Mac/Linux:
curl -fsSL https://ollama.com/install.sh | shFor Windows, download it from Ollama’s official site.
Install Google’s Gemma Model
ollama pull gemmaWhy Gemma? What Are the Alternatives?
For this project, we chose Gemma, a lightweight, open-source model developed by Google, because it aligns with Google’s ecosystem and provides efficient, real-time insights for environmental data.
Why Use Google’s Gemma?
- Optimized for Efficiency – Runs well on low-power machines without requiring cloud resources.
- Google-Backed & Open Source – Developed by Google DeepMind, ensuring high-quality performance with full transparency.
- No API Costs & Fully Local – No need for an internet connection or paid APIs, making it a cost-effective solution.
- Designed for Meaningful Responses – Processes real-time air quality data and provides insightful, structured feedback.
Other Model Alternatives
- Phi-2 – Even lighter but lacks detailed contextual understanding.
- Llama3 – More powerful but requires more computational resources.
- Mistral – Previously used, efficient, but not part of the Google ecosystem.
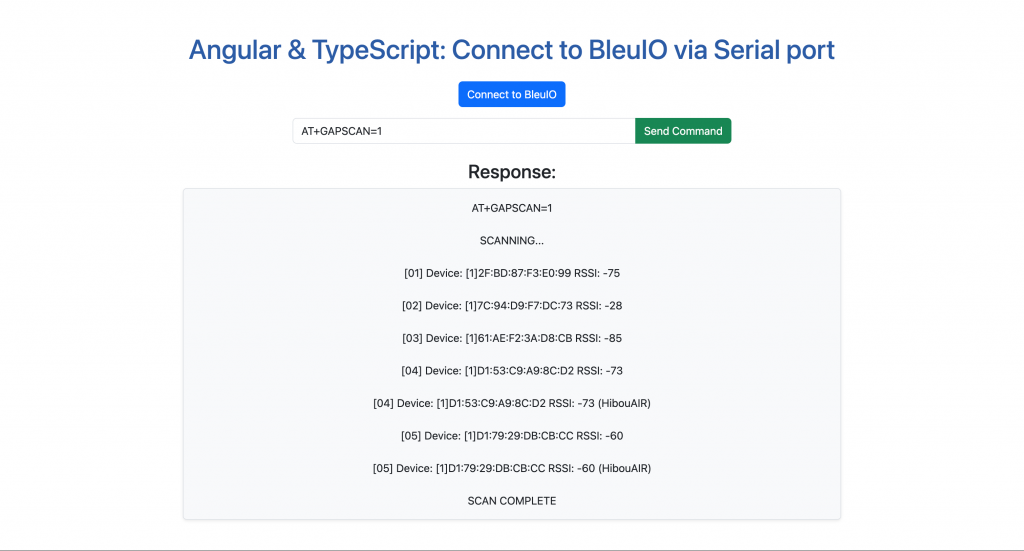
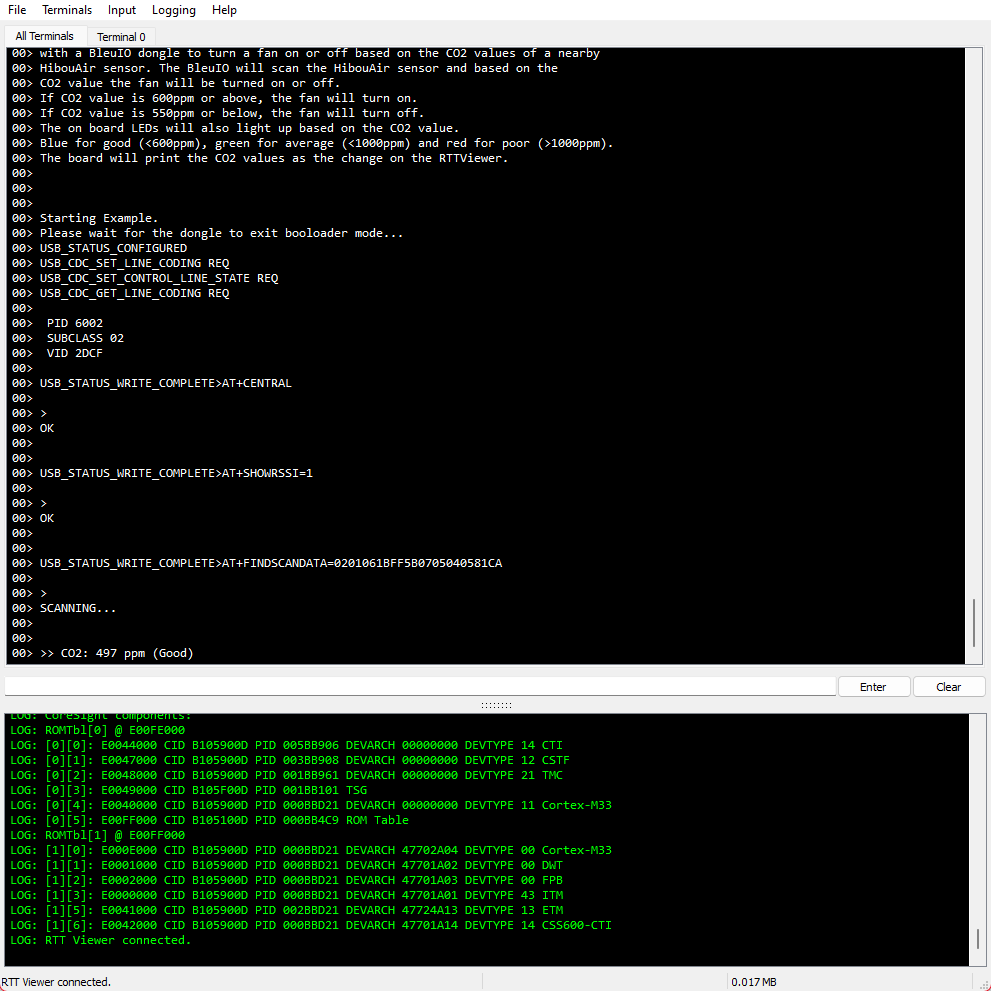
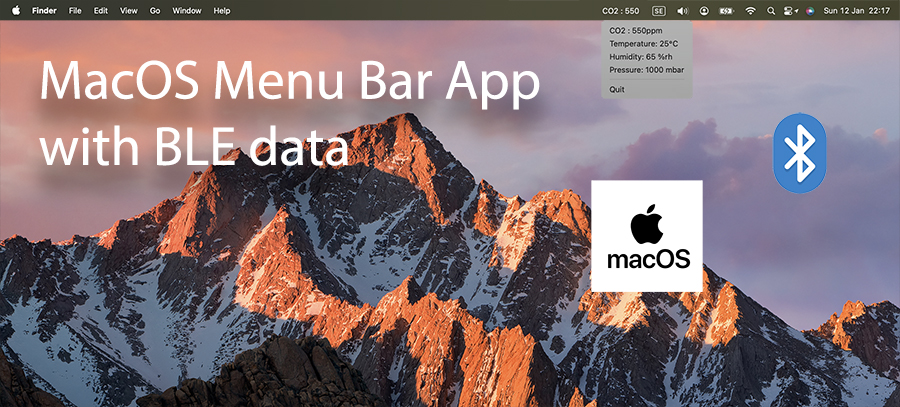
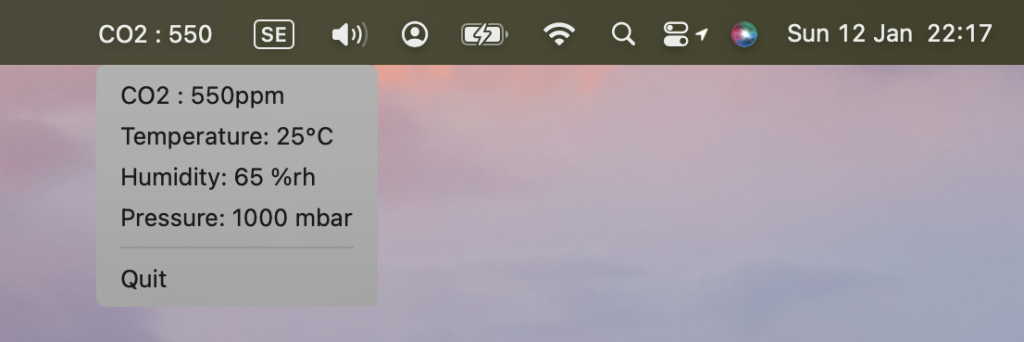
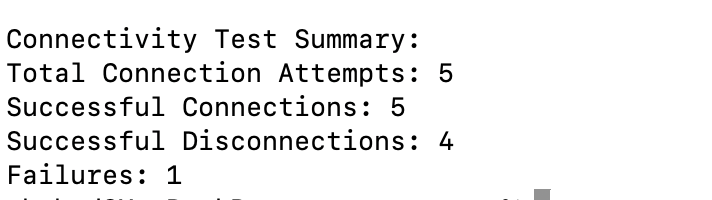
Connecting HibouAir via Bluetooth (BleuIO)
HibouAir continuously broadcasts CO2, temperature, humidity, and pressure via Bluetooth. We use BleuIO to scan and retrieve these values in real-time.
Setting Up the Chat Interface
Users can type questions like:
- “What is the temperature?”
- “What is my CO2 level?”
- “How is the air quality?”
The system fetches real-time sensor data from HibouAir and provides Google-powered analysis and recommendations.
app.py (Backend)
- This script:
- Scans for HibouAir data
- Extracts CO2, temperature, humidity, and pressure
- Uses Google’s Gemma model for intelligent responses
- Serves the chat interface via Flask
def chat():
    """Handles user input, fetches air quality data if needed, and returns response."""
    user_input = request.json.get("message", "").lower()

    with Manager() as manager:
        air_data = manager.dict({"co2": 0, "pressure": 0, "temperature": 0, "humidity": 0})
        process = Process(target=scan_for_air_quality_process, args=(air_data,))
        process.start()
        process.join()

        # Check for specific sensor queries
        if "temperature" in user_input:
            if air_data["temperature"] > 0:
                response = f"The current temperature in your room is {air_data['temperature']}°C."
            else:
                response = "⚠️ Unable to retrieve temperature data. Ensure HibouAir is in range."
            return jsonify({"response": response})

        elif "humidity" in user_input:
            if air_data["humidity"] > 0:
                response = f"The current humidity level in your room is {air_data['humidity']}%."
            else:
                response = "⚠️ Unable to retrieve humidity data. Ensure HibouAir is in range."
            return jsonify({"response": response})

        elif "pressure" in user_input:
            if air_data["pressure"] > 0:
                response = f"The current air pressure in your room is {air_data['pressure']} hPa."
            else:
                response = "⚠️ Unable to retrieve air pressure data. Ensure HibouAir is in range."
            return jsonify({"response": response})
        elif "co2" in user_input:
            if air_data["co2"] > 0:
                response = f"The current CO2 in your room is {air_data['co2']} ppm."
            else:
                response = "⚠️ Unable to retrieve co2 data. Ensure HibouAir is in range."
            return jsonify({"response": response})

        elif "air quality" in user_input :
            if air_data["co2"] > 0:
                prompt = (
                    f"The current air quality readings are:\n"
                    f"- CO2 Level: {air_data['co2']} ppm\n"
                    f"- Temperature: {air_data['temperature']}°C\n"
                    f"- Humidity: {air_data['humidity']}%\n"
                    f"- Pressure: {air_data['pressure']} hPa\n"
                    f"First give all the data. This is my room data. Give me short analysis on this data. and give me short suggestions "
                )
            else:
                return jsonify({"response": "⚠️ Unable to retrieve air quality data. Ensure HibouAir is in range and try again."})
        else:
            # Normal response for non-air quality queries
            prompt = user_input

    ai_response = subprocess.run(
        ["ollama", "run", "gemma", prompt],
        capture_output=True,
        text=True
    ).stdout.strip()

    return jsonify({"response": ai_response})
Get full source code from Github
index.html (Frontend – Chat Interface)
<div class="card">
        <div class="card-header">Chat with HibouAir</div>
        <div class="card-body">
          <div
            id="chatbox"
            class="border rounded p-3"
            style="height: 400px; overflow-y: auto; background: #f8f9fa"
          >
            <div class="alert alert-secondary">
              <b>HibouAir:</b> Ask me about air quality!
            </div>
          </div>
        </div>
      </div>
Expected Responses
You: “What is my CO2 level?”
HibouAir: “The current CO2 level is 850 ppm.”
You: “What is the air quality in my room?”
HibouAir:
CO2 Level: 850 ppm
Temperature: 24°C
Humidity: 55%
Pressure: 1010 hPa
Based on these readings, the air quality is good.
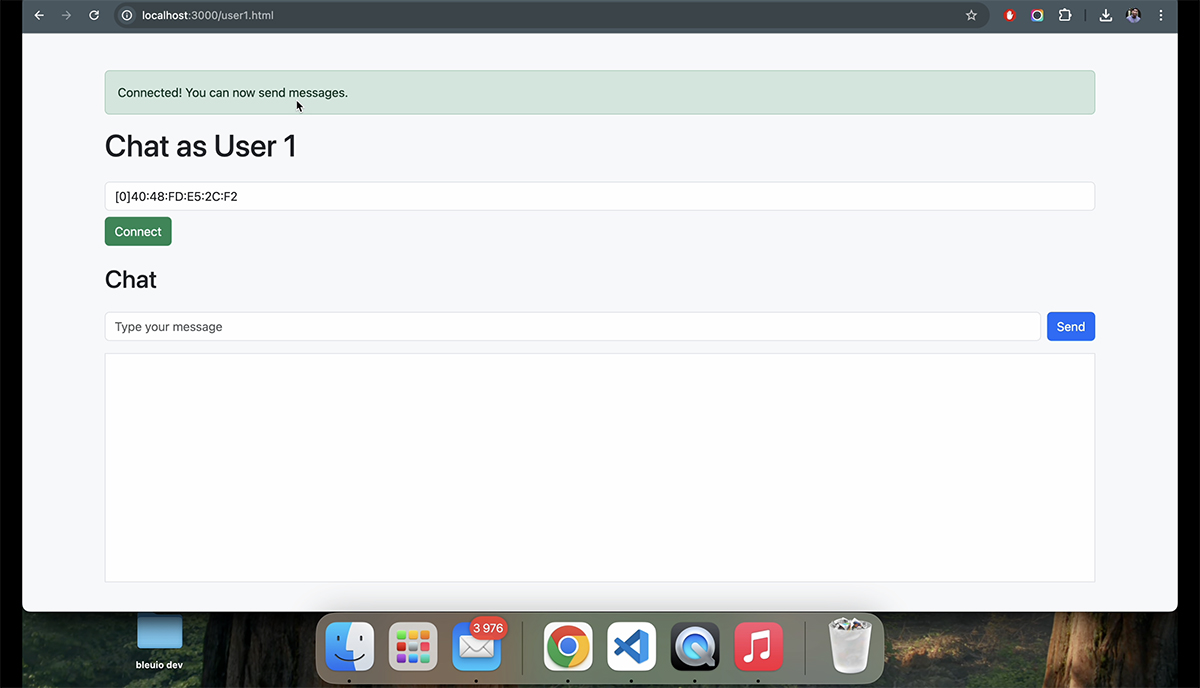
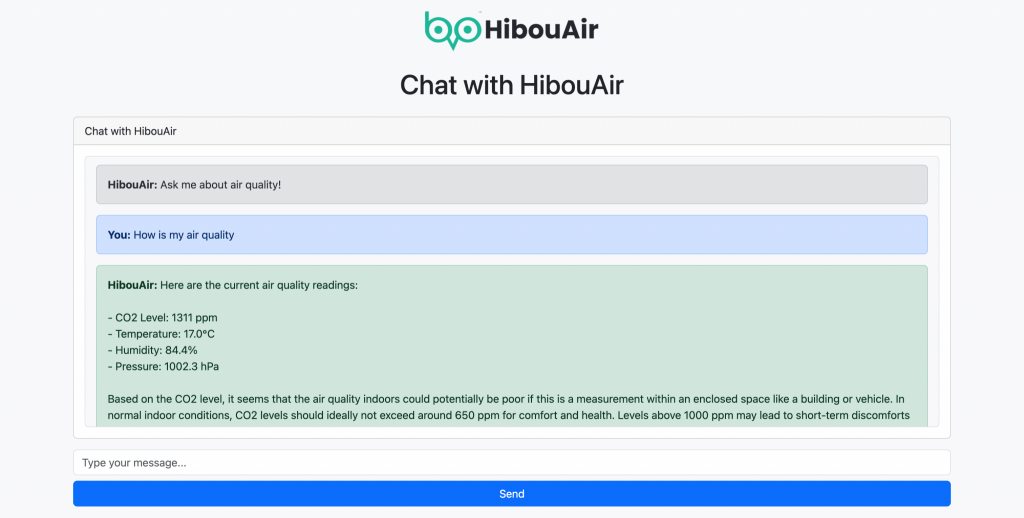
Using the Chat Interface
The web interface allows users to ask about specific values like temperature, humidity, pressure, CO2, or overall air quality.
Output
Get the Source Code
This project is open-source! You can access the full code and modify it for your own needs.
This project showcases how HibouAir and BleuIO can be integrated to provide real-time air quality analysis in a way that is easy to understand. Instead of requiring users to interpret raw sensor data, the chat interface translates complex air quality values into clear, meaningful insights. Powered by Google’s Gemma model, it delivers simple and actionable responses—helping users understand their indoor air quality without needing to be experts.