Integrating BleuIO with Adafruit Feather RP2040 for Seamless BLE Applications
April 9, 2024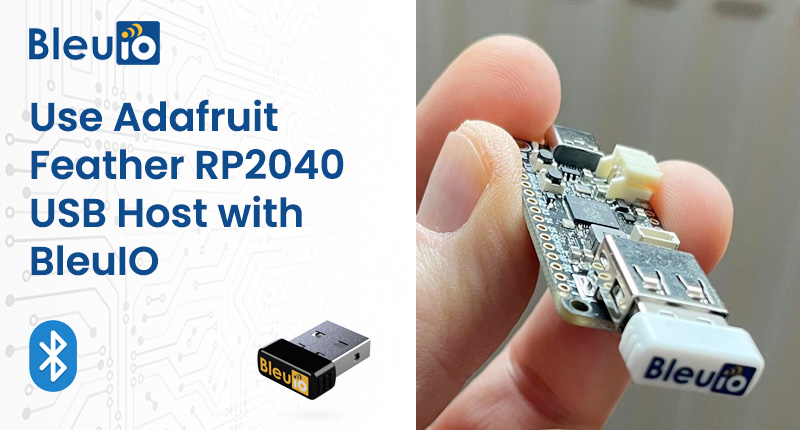
In the realm of IoT projects, finding a reliable and efficient host hardware solution is important. The Adafruit Feather RP2040 is an excellent solution for that. It comes equipped with a comprehensive ecosystem, including an IDE and libraries tailored for your new projects. With this setup, you get to keep the main USB port for uploading, debugging, and data communication, while at the same time sending and receiving data to just-about-any USB device, like the BleuIO.
https://learn.adafruit.com/adafruit-feather-rp2040-with-usb-type-a-host
In this first blog with the Adafruit Feather board, we are going to show how you can setup the USB stack and communicate with BleuIO using the Adafruit Feather RP2040 board. Later in next project we will show how to read a Temperature and Humidity sensor and display the data help of the Bluetooth Low Energy (BLE) interface.
Requirements
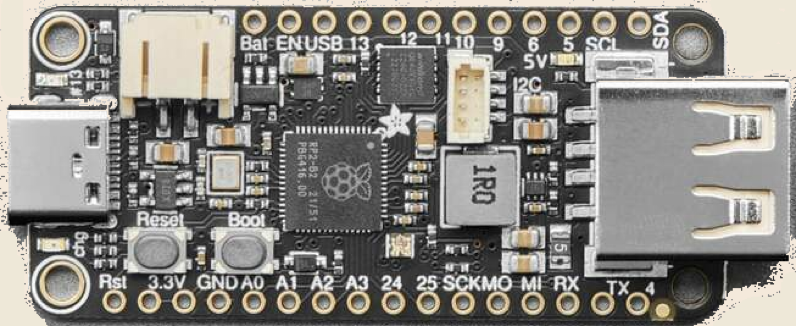
- Adafruit Feather RP2040 Board
- BleuIO – Bluetooth Low Energy USB Dongle
- Arduino IDE
- Adafruit TinyUSB Library
- Pico PIO USB Library
Setting Up the Development Environment
Arduino IDE Download
This section covers getting your Arduino IDE set up to include your board.
- Download and install it to your computer.
- Once installed, open the Arduino IDE. In the Arduino IDE, and navigate to the Preferences window.

- Copy the following URL and Add the URL to the the Additional Boards Manager URLs field
- https://github.com/earlephilhower/arduino-pico/releases/download/global/package_rp2040_index.json
Selecting the Appropriate Board Configuration
Add Board Support Package
- In the Arduino IDE, click on Tools > Board > Boards Manager. If you have previously selected a board, the Board menu item may have a board name after it.
- In the Boards Manager, search for RP2040. Scroll down to the Raspberry Pi Pico/RP2040 by Earle F Philhower, III entry. Click Install to install it.
Choose Your Board
- In the Tools > Boards menu, you should now see Raspberry Pi RP2040 Boards (possibly followed by a version number).
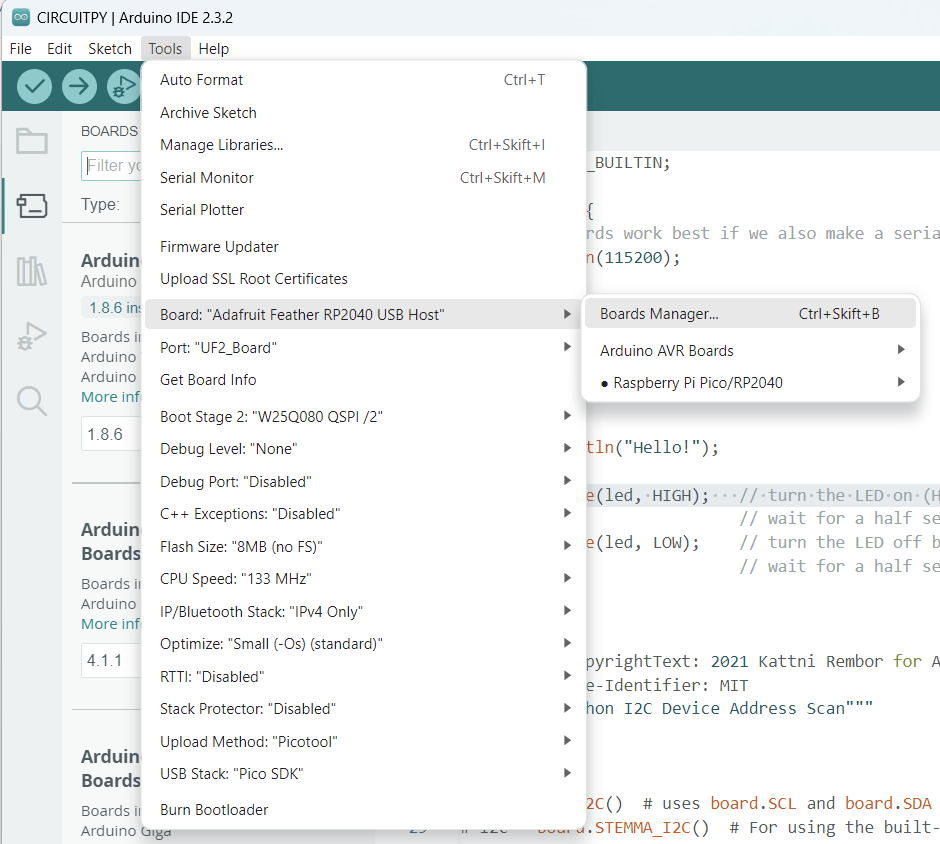
- Navigate to the Raspberry Pi RP2040 Boards menu and choose Adafruit Feather RP2040 USB Host.
Now you’re ready to begin using Arduino with your RP2040 board! The main use case for this Feather is to act as a USB host.
Library Installation
Install Adafruit_TinyUSB Library
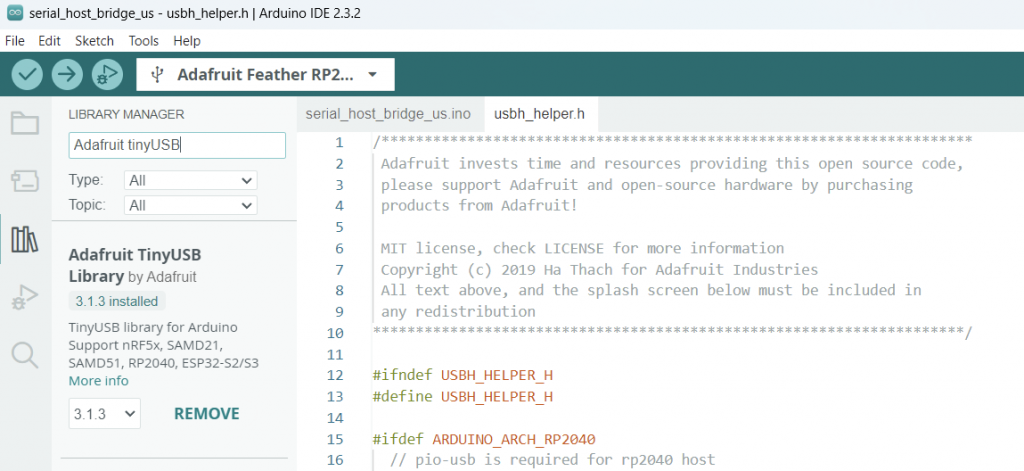
To use your Feather as a USB host, you’ll need to install the Adafruit TinyUSB library. It can be installed using the Library Manager in the Arduino IDE.
Click the Manage Libraries > menu item, search for Adafruit TinyUSB, and select the Adafruit TinyUSB Library
Install Pico PIO USB Library
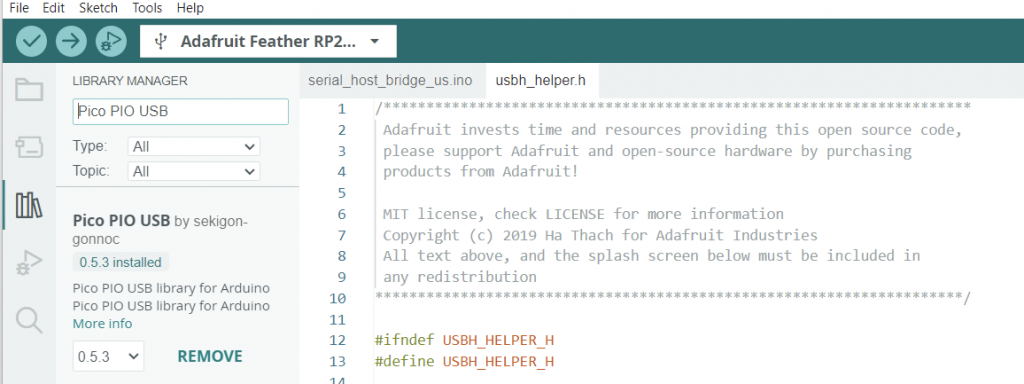
Additionally, you’ll need to install the Pico PIO USB library.
Click the Manage Libraries > menu item again, search for PIO USB, and select the Pico PIO USB library.
Configuration and Deployment
Board Upload Settings
- In the Tools menu, select Adafruit Feather RP2040 USB Host under Board.
- For CPU Speed, you’ll need to select 120 MHz or 240 MHz.
- Finally, under USB Stack, select Adafruit TinyUSB.
Serial Host Bridge Example
- Load the example code onto your Feather after following the library installation instructions on the Arduino Library Install page.
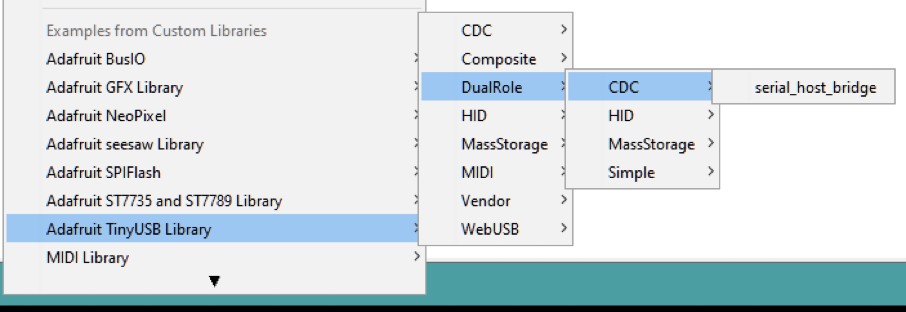
- Navigate to the Adafruit TinyUSB Library Examples and select DualRole – CDC – serial_host_bridge
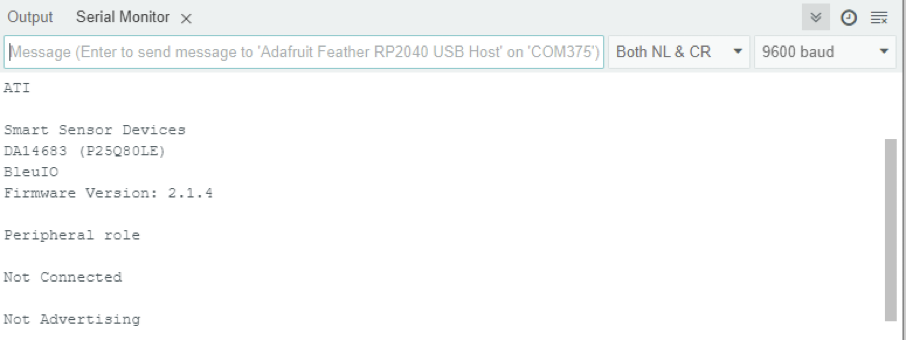
Now you can control the BleuIO USB Dongle via the Adafruit Feather board.
With these steps completed, you’re now ready to start integrating BleuIO with your Adafruit Feather RP2040 board. This setup lays the foundation for exciting IoT projects, and we’ll explore more functionalities in future tutorials where we will show how to make the BleuIO USB Dongle advertise data from a Temperature and Humidity sensor.
Stay tuned for further guides on applying BleuIO and Adafruit Feather RP2040 for your projects!