BleuIO released a new firmware version 2.0.9 on November 05, 2021, introducing new features and enhancements to improve productivity. You can download the updated firmware from
Following features and AT commands has been added to this release
Added features:
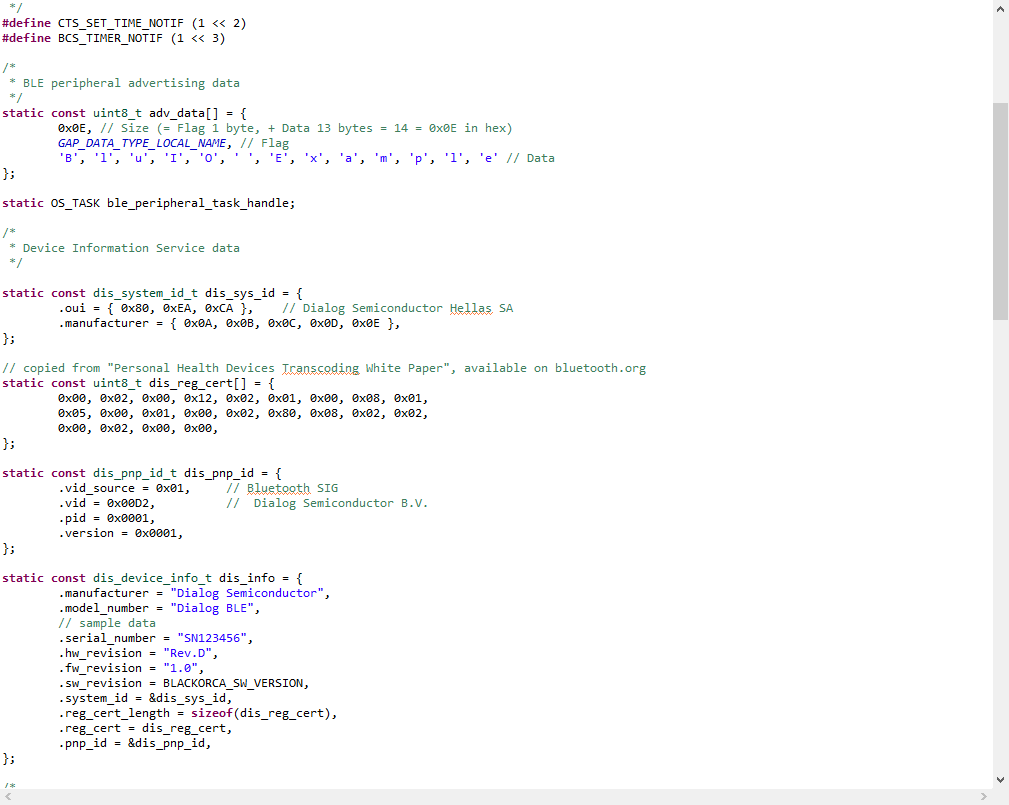
- Added support to set the information in the Device Service Information (DIS).
Added Commands
- Added a new command AT+DIS, that is used to view current information used in the Device Information Service (DIS).
- Added a new command AT+SETDIS that is used to set current information used in the Device Information Service (DIS).
What is Device information service?
Device information service exposes manufacturer and/or vendor information about a device. It is a very good way for the maker of equipment, software and hardware version control, production information disclosure. It is therefore recommended to include this Standard service defined by the Bluetooth SIG at the time of development.
Use the following AT command to set Device information service
AT+SETDIS=<man_name>=<model_num>=<serial_num>=<hw_rev>=<fw_rev>=<sw_rev>
Manufacturer Name String
The Manufacturer Name String characteristic shall represent the name of the manufacturer of the device.
Model Number String
The Model Number String characteristic shall represent the model number that the device vendor assigns.
Serial Number String
The Serial Number String characteristic shall represent the serial number for a particular instance of the device.
Hardware Revision String
The Hardware Revision String characteristic shall represent the hardware revision for the hardware within the device.
Firmware Revision String
The Firmware Revision String characteristic shall represent the firmware revision for the firmware within the device.
Software Revision String
The software Revision String characteristic shall represent the software revision for the software within the device.
Note that information can only be set before starting advertising. If no custom information is set, the default BleuIO device information will be used. Once advertising is started, the information set to be used will be locked in and cannot be changed during runtime.
To change the device information again, the dongle will need to be restarted, either by unplugging it and plugging it back in or using the ATR command.
Max length is 100 characters per parameter.
Use the AT+DIS AT command to view current Device Information Service to be used. It Will show the default BleuIO information if no custom information has been set.