In today’s rapidly evolving technological landscape, Bluetooth has emerged as on of the key component of wireless communication, enabling a plethora of devices to connect and interact seamlessly. From our smartphones to smart home devices and even industrial machinery, Bluetooth technology has permeated nearly every aspect of modern life.
Understanding Bluetooth Technology
Bluetooth technology, first introduced in 1994, has undergone significant evolution since its inception. Originally designed for short-range wireless communication, Bluetooth has grown to support a wide range of applications through successive versions, each bringing enhancements in speed, range, and power efficiency.
One of Bluetooth’s most compelling features is its low power consumption. This characteristic makes it particularly well-suited for battery-operated devices, which is crucial as the Internet of Things (IoT) continues to expand. Furthermore, Bluetooth’s interoperability ensures that devices from different manufacturers can connect and communicate effortlessly, enabling a more integrated and user-friendly ecosystem.
The Role of Bluetooth in IoT
As the IoT ecosystem grows, the role of Bluetooth becomes increasingly pivotal. Bluetooth technology facilitates the creation of smart, connected devices that communicate with each other and with central hubs. This connectivity is fundamental to the concept of a smart home, where devices like thermostats, lights, and security systems work together to enhance convenience and efficiency.
Bluetooth’s integration into IoT devices allows for seamless communication and control. For instance, users can manage their home automation systems from a single app, adjust settings remotely, and receive notifications about their home environment. This level of connectivity not only simplifies user interactions but also enhances the functionality and intelligence of IoT devices.
Transformative Use Cases of Bluetooth Integration
- Automotive Integration
In the automotive industry, Bluetooth has revolutionized in-car connectivity. Modern vehicles uses Bluetooth technology for hands-free calling, music streaming, and diagnostics. Bluetooth-enabled systems allow drivers to connect their smartphones to their vehicles effortlessly, providing access to navigation, entertainment, and communication features while keeping their hands on the wheel and eyes on the road.
Moreover, the concept of Vehicle-to-Everything (V2X) communication is on the horizon, promising to further integrate Bluetooth into automotive systems. V2X technology aims to improve road safety and traffic management by enabling vehicles to communicate with each other and with infrastructure components, such as traffic lights and road signs.
- Smart Home Devices
Bluetooth technology is a key enabler of the smart home revolution. By integrating Bluetooth into devices such as lighting systems, thermostats, and smart locks, manufacturers have made it possible for homeowners to control their environment with unprecedented ease. For example, a smart thermostat can be adjusted from a smartphone app, while smart lighting systems can be programmed to respond to voice commands or automated schedules.
The interoperability of Bluetooth devices is a significant advantage, as it allows various products from different brands to work together seamlessly. This compatibility enhances the user experience and promotes the adoption of smart home technologies.
- Healthcare and Wearables
In the realm of healthcare, Bluetooth has made substantial contributions through the development of wearables and medical devices. Wearable fitness trackers and smartwatches use Bluetooth to monitor health metrics such as heart rate, activity levels, and sleep patterns, providing users with valuable insights into their well-being.
Bluetooth is also integral to medical devices that require data transmission, such as glucose monitors and blood pressure cuffs. These devices can transmit health data to healthcare providers in real-time, facilitating remote monitoring and improving patient care. The ability to connect these devices wirelessly enhances convenience and ensures that critical health information is always accessible.
- IoT and Industrial Applications
In industrial settings, Bluetooth technology is transforming operations by enabling smart manufacturing and asset tracking. Bluetooth sensors can monitor equipment performance, detect anomalies, and streamline maintenance processes. This real-time data collection improves efficiency and reduces downtime.
Furthermore, Bluetooth’s role in asset tracking has advanced significantly, allowing businesses to monitor inventory and manage assets with greater accuracy. This capability is particularly valuable in sectors such as logistics and warehousing, where precise tracking and management are crucial.
- Retail and Beacon Technology
Bluetooth beacons have introduced innovative ways for retailers to engage with customers. By deploying beacons throughout stores, retailers can deliver personalized promotions, guide customers to specific products, and collect data on shopping behaviors. This level of engagement enhances the shopping experience and provides valuable insights into customer preferences.
Bluetooth technology also plays a role in improving the efficiency of retail operations by streamlining inventory management and enhancing the accuracy of sales data.
Advancements in Bluetooth Security and Power Efficiency
Bluetooth technology continues to evolve, with significant improvements in security and power efficiency. Enhanced encryption standards and secure pairing methods protect data transmission and prevent unauthorized access. These advancements are crucial as Bluetooth becomes more integral to sensitive applications and environments.
In terms of power efficiency, recent developments have focused on reducing energy consumption while maintaining performance. Low Energy Bluetooth (BLE) technology, for example, is designed to extend battery life and support long-term usage in battery-powered devices.
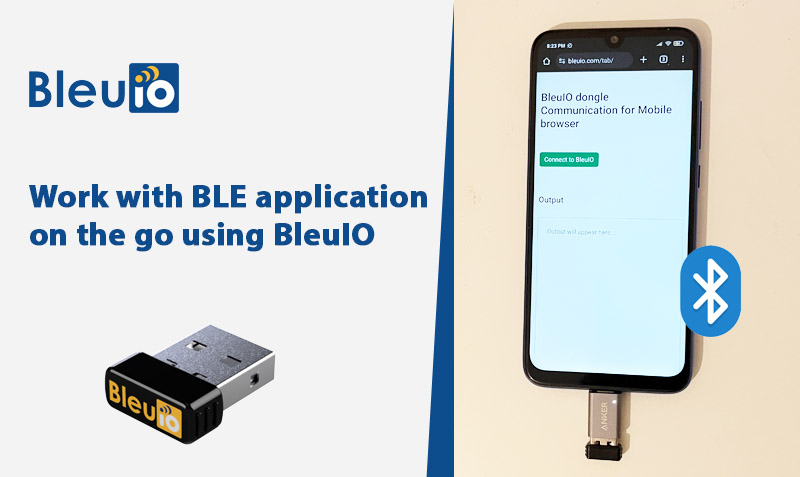
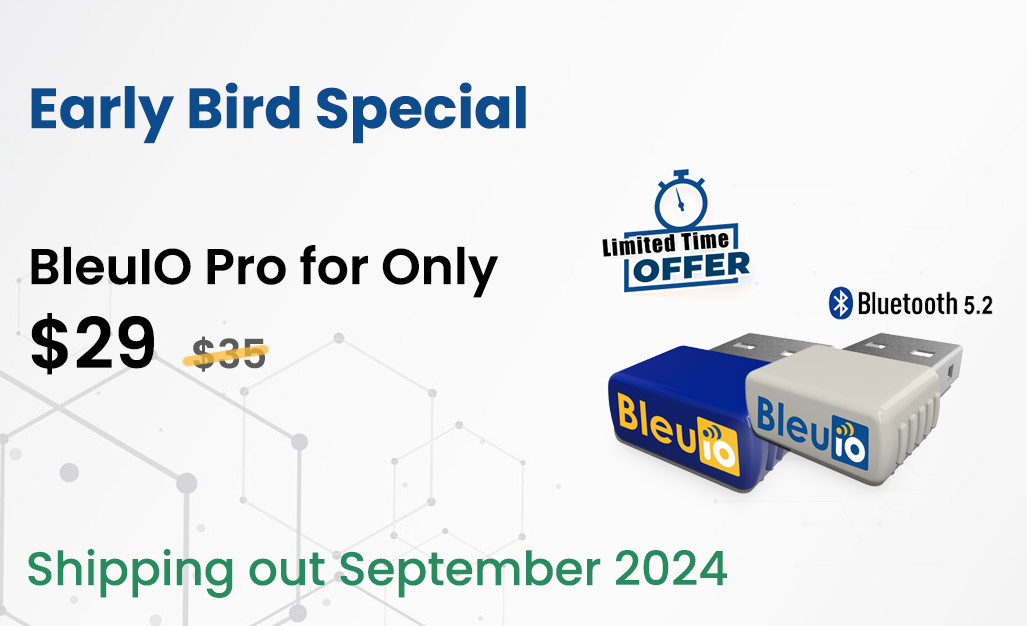
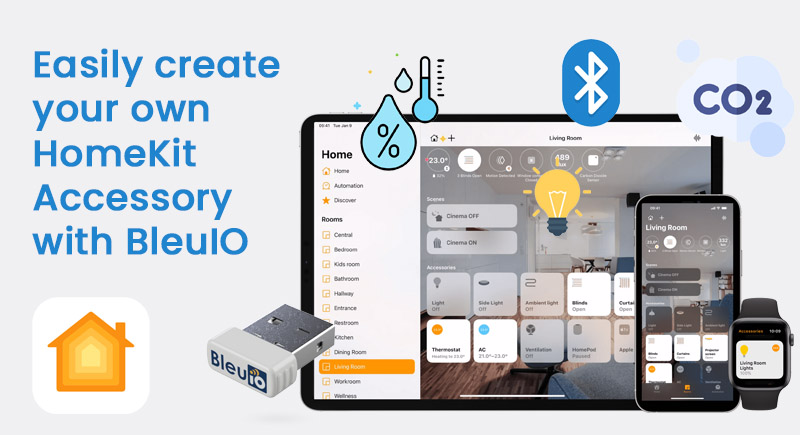
Bluetooth integration with BleuIO
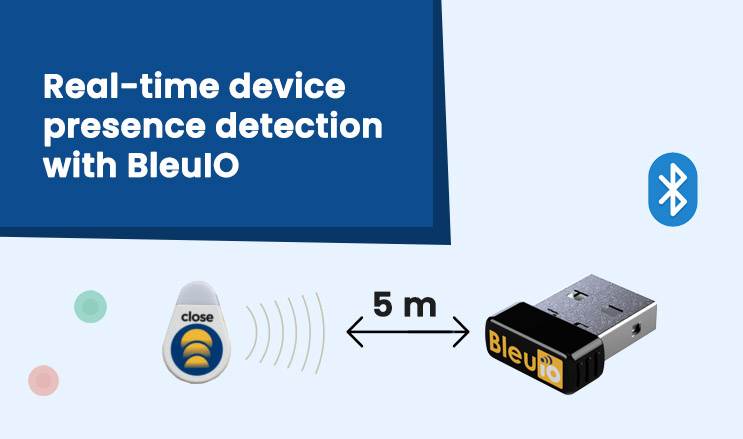
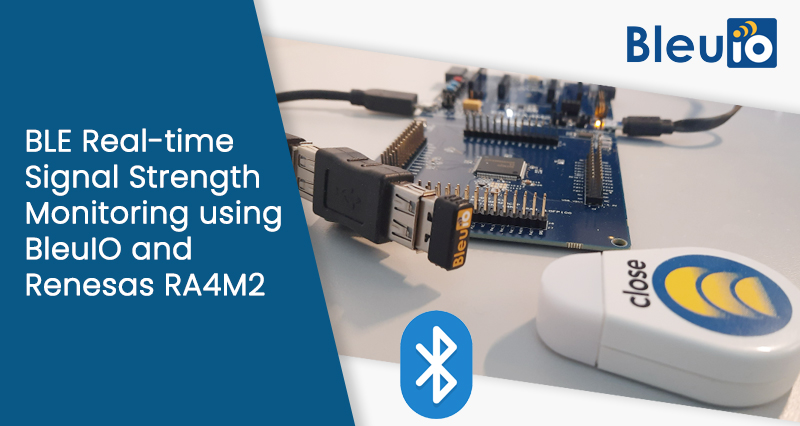
For developers and businesses looking to leverage Bluetooth technology, products like the BleuIO Bluetooth Low Energy USB dongle offer an easy and effective solution for integrating Bluetooth into devices. With cross-platform support and user-friendly features, BleuIO simplifies the development, prototyping, and testing of BLE applications, making it an invaluable tool for anyone working with Bluetooth technology.
Explore the possibilities of Bluetooth integration with BleuIO and see how it can enhance your projects and innovations.