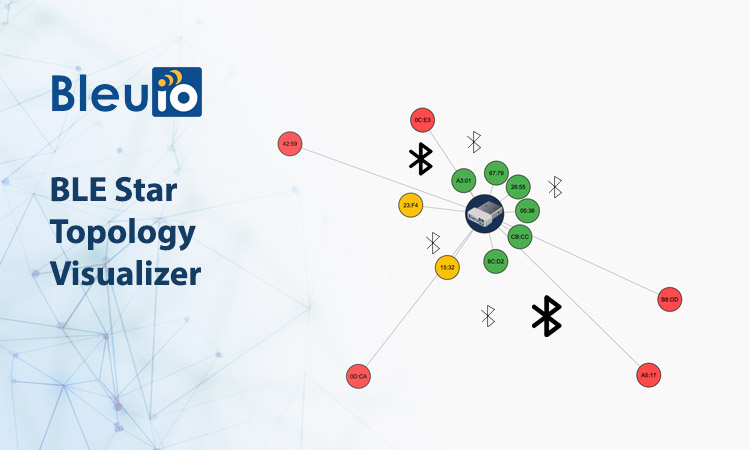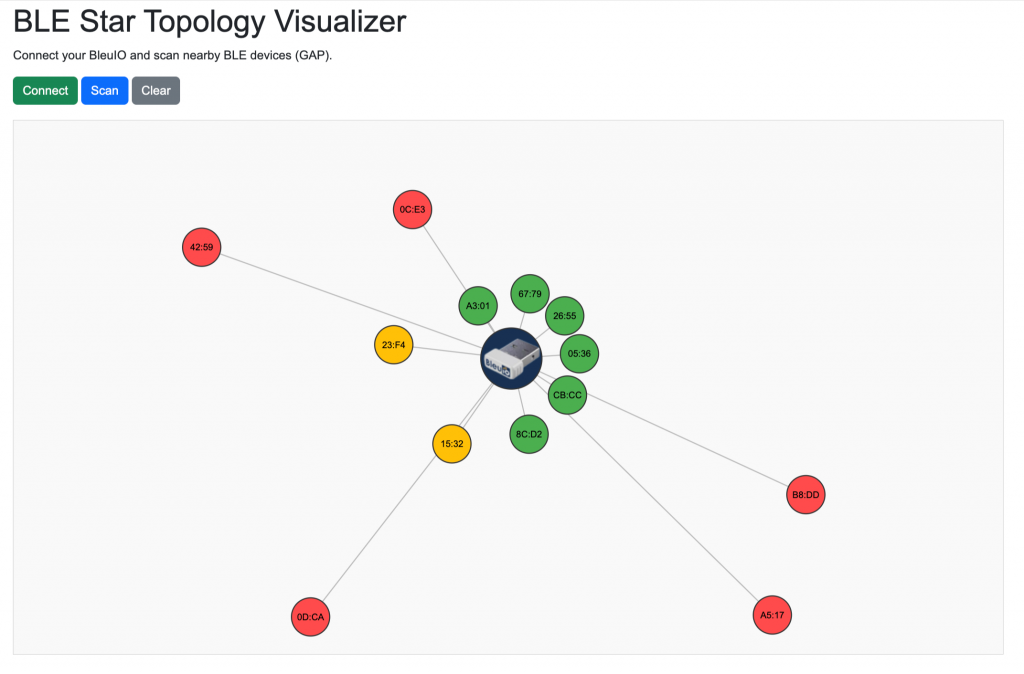
Looking to detect nearby Bluetooth devices based on how close they are? With the BleuIO USB dongle and a simple Python script, you can create a BLE proximity alert system that triggers a sound when a specific device is within signal range. This setup filters devices based on signal strength (RSSI), allowing you to monitor only those within a defined proximity.
This project is ideal for anyone exploring BLE applications such as access control, IoT automation, or even security demos.
Use Cases
The BLE Proximity Alert System can serve various real-world scenarios:
- Secure Zone Monitoring
By defining a signal strength threshold, the system only responds to devices that are physically close—perfect for protecting sensitive areas like server rooms or restricted workspaces. - Proximity-Based Device Interactions
Trigger actions such as pairing or unlocking devices only when a known BLE tag or smartphone comes within a defined range, improving both UX and security. - Awareness and Educational Demos
Demonstrate proximity-based alerts in classrooms or public exhibits to show how BLE technology can be used for social distancing or presence detection. - Smart Home or Office Automation
Use proximity as a trigger to automate actions—such as turning on lights, sending notifications, or logging user presence—without needing additional sensors.
Requirements
To run this BLE proximity alert system, you’ll need:
- BleuIO Dongle
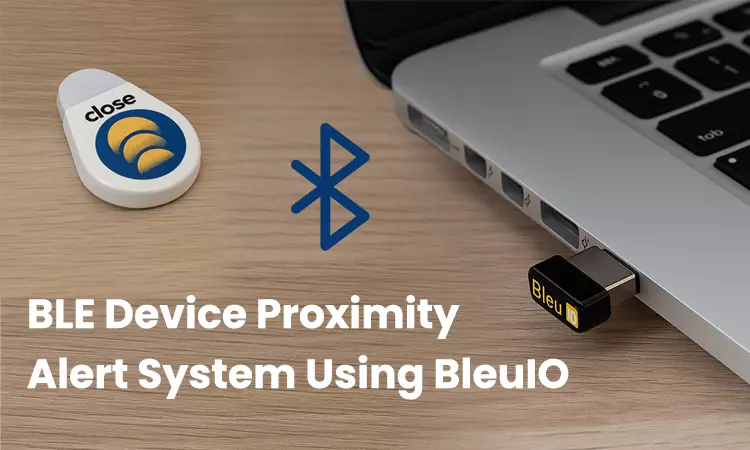
A USB Bluetooth Low Energy dongle that supports AT command communication and works with macOS, Windows, and Linux. This dongle will be used to scan for nearby BLE devices and filter based on signal strength. - Close Beacon Device
In this project, we use a Close Beacon as the target BLE device. These compact beacons broadcast Bluetooth advertisements, making them ideal for proximity detection demos. - Python 3.x
Ensure Python is installed on your system. The script uses Python to handle serial communication and control logic. - Sound File
A short.wavor.mp3audio file (e.g.,beep.wav) placed in the same directory as the script. This sound will be played when the target BLE device is detected within the defined proximity.
Required Python Library
Only one external Python library is needed:
pyserial– for handling communication with the BleuIO dongle via the serial port.
You can install it using:
pip install pyserial
No additional audio libraries are required on macOS or Windows; the script uses the built-in afplay tool for macOS and winsound for Windows to play audio.
How It Works
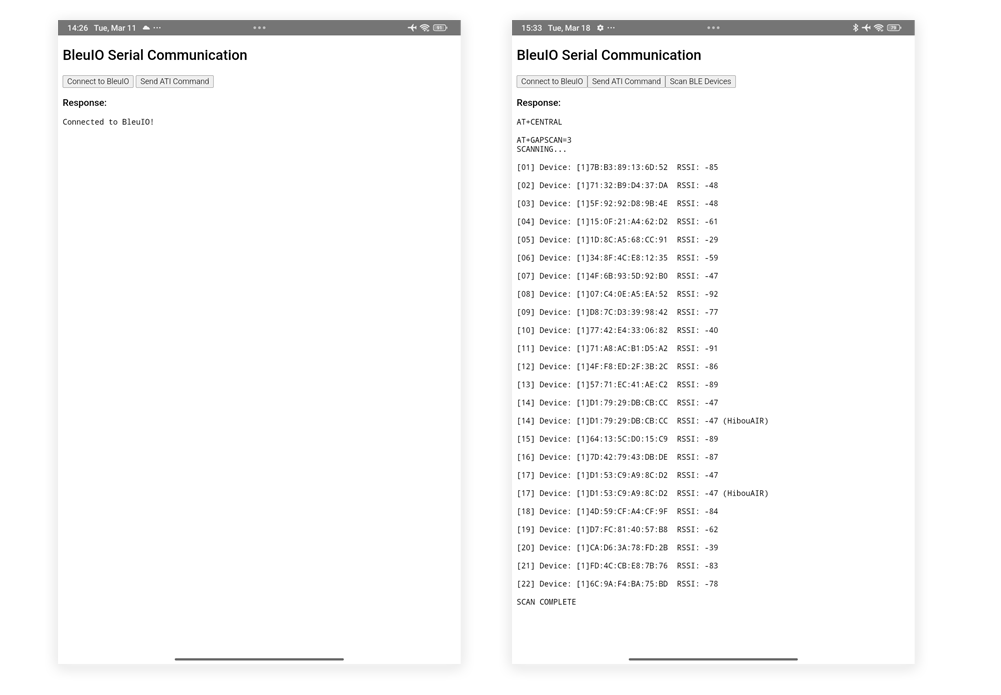
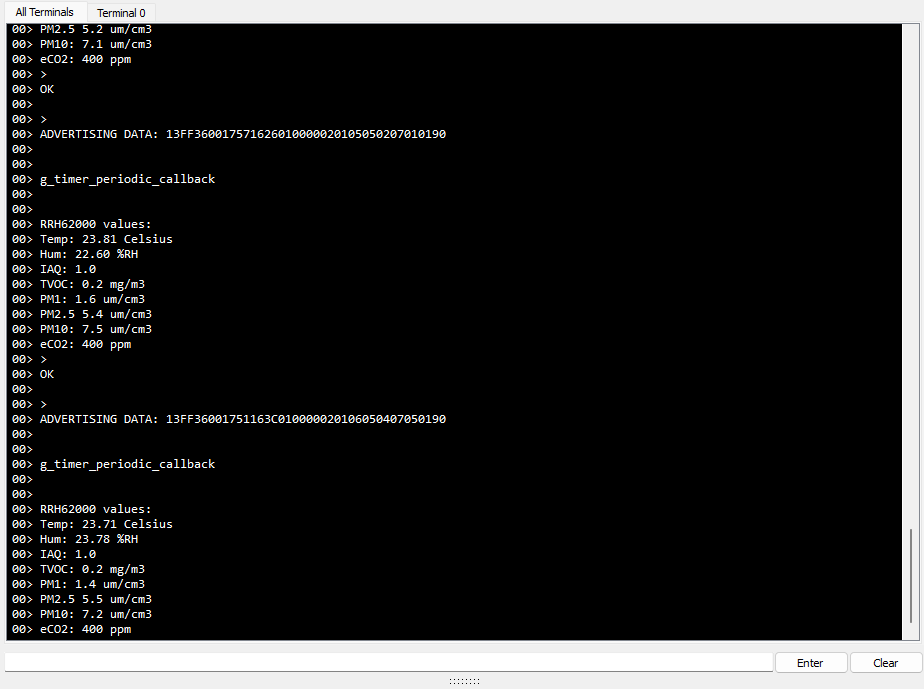
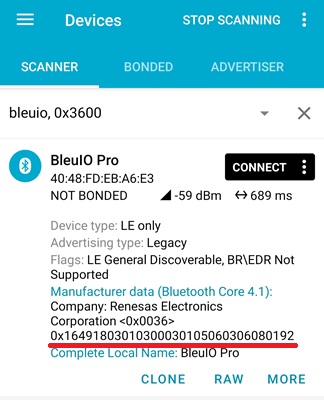
When you launch the script, it establishes a serial connection with the BleuIO dongle. It then sets an RSSI filter using the AT+FRSSI command, which limits scan results to only those devices whose signal strength is above a certain threshold (i.e., closer in physical distance). For example, setting a filter of -76 means the scan will ignore devices with weaker signals (further away) and only show those nearby.
Every 30 seconds, the script initiates a BLE scan using AT+GAPSCAN=3. It parses the output in real time, looking for a specific MAC address. If the device is detected, the system immediately plays a sound to alert the user. This process repeats continuously, offering reliable detection based on proximity rather than just presence.
Important Notes
- Serial Port
Update theSERIAL_PORTvariable in the script to match your operating system:- macOS: Typically
/dev/cu.usbmodemXXXX - Windows: Usually
COM3,COM4, etc.
- macOS: Typically
- MAC Address
Replace the default value with the MAC address of your target BLE device. - RSSI Threshold
ModifyRSSI_FILTER_THRESHOLDat the top of the script to define how close the device must be to trigger the alert. Acceptable values range from-1(very strong signal) to-99(very weak). - Sound File
Make sure the beep sound file (e.g.,beep.wav) is present in the same folder as the script.
Source Code
The source code is available at
https://github.com/smart-sensor-devices-ab/ble-proximity-alert.git
You can find the complete Python script with configuration options and logic here:
import platform
import serial
import time
import subprocess
if platform.system() == "Windows":
    import winsound

# ==== CONFIGURATION ====
SERIAL_PORT = '/dev/cu.usbmodem4048FDEBA6D01'  # Update as needed
#SERIAL_PORT = "COM8"  # Update as needed
BAUD_RATE = 9600
TARGET_DEVICE_MAC = "D0:76:50:80:15:32"
SOUND_FILE = "beep.wav"  # Must exist in the same folder

# RSSI filter threshold: Acceptable range is -1 to -99
RSSI_FILTER_THRESHOLD = "60"  # You can input without '-' sign
# ========================


def play_beep():
    try:
        if platform.system() == "Windows":
            winsound.PlaySound(SOUND_FILE, winsound.SND_FILENAME)
        else:
            subprocess.call(["afplay", SOUND_FILE])
    except Exception as e:
        print(f"Failed to play sound: {e}")


def connect_to_bleuio():
    try:
        ser = serial.Serial(SERIAL_PORT, BAUD_RATE, timeout=1)
        time.sleep(2)

        # Send basic AT to wake up
        ser.write(b"AT\r\n")
        time.sleep(0.5)

        # Ensure threshold has leading '-'
        rssi_value = RSSI_FILTER_THRESHOLD
        if not rssi_value.startswith("-"):
            rssi_value = "-" + rssi_value

        command = f"AT+CENTRAL\r\n".encode()
        ser.write(command)
        print(f"BleuIO set to central role\n")
        time.sleep(0.5)

        # Send AT+FRSSI command
        command = f"AT+FRSSI={rssi_value}\r\n".encode()
        ser.write(command)
        print(f"RSSI filter set to {rssi_value} dBm\n")
        time.sleep(0.5)

        return ser
    except Exception as e:
        print(f"Error connecting to BleuIO: {e}")
        return None


def scan_for_device(ser):
    ser.write(b"AT+GAPSCAN=3\r\n")
    end_time = time.time() + 5

    while time.time() < end_time:
        if ser.in_waiting:
            line = ser.readline().decode(errors="ignore").strip()
            print(line)
            if TARGET_DEVICE_MAC in line:
                print("Target device found! Triggering alert...")
                play_beep()

    print("Scan complete.\n")


def main():
    ser = connect_to_bleuio()
    if not ser:
        return

    print("Connected to BleuIO. Starting periodic scan...\n")

    while True:
        scan_for_device(ser)
        time.sleep(30)


if __name__ == "__main__":
    main()
Conclusion
This BLE proximity alert system is a great example of using signal strength (RSSI) to filter and detect nearby Bluetooth devices. It’s a lightweight, effective solution that can be easily customized for different applications—from home automation to enterprise access control. The source code is entirely open and flexible, allowing anyone to adapt it for their own use cases and expand it with additional features such as logging, notifications, or integration with cloud services.
This is an example project—but the building blocks can easily become part of something much bigger.