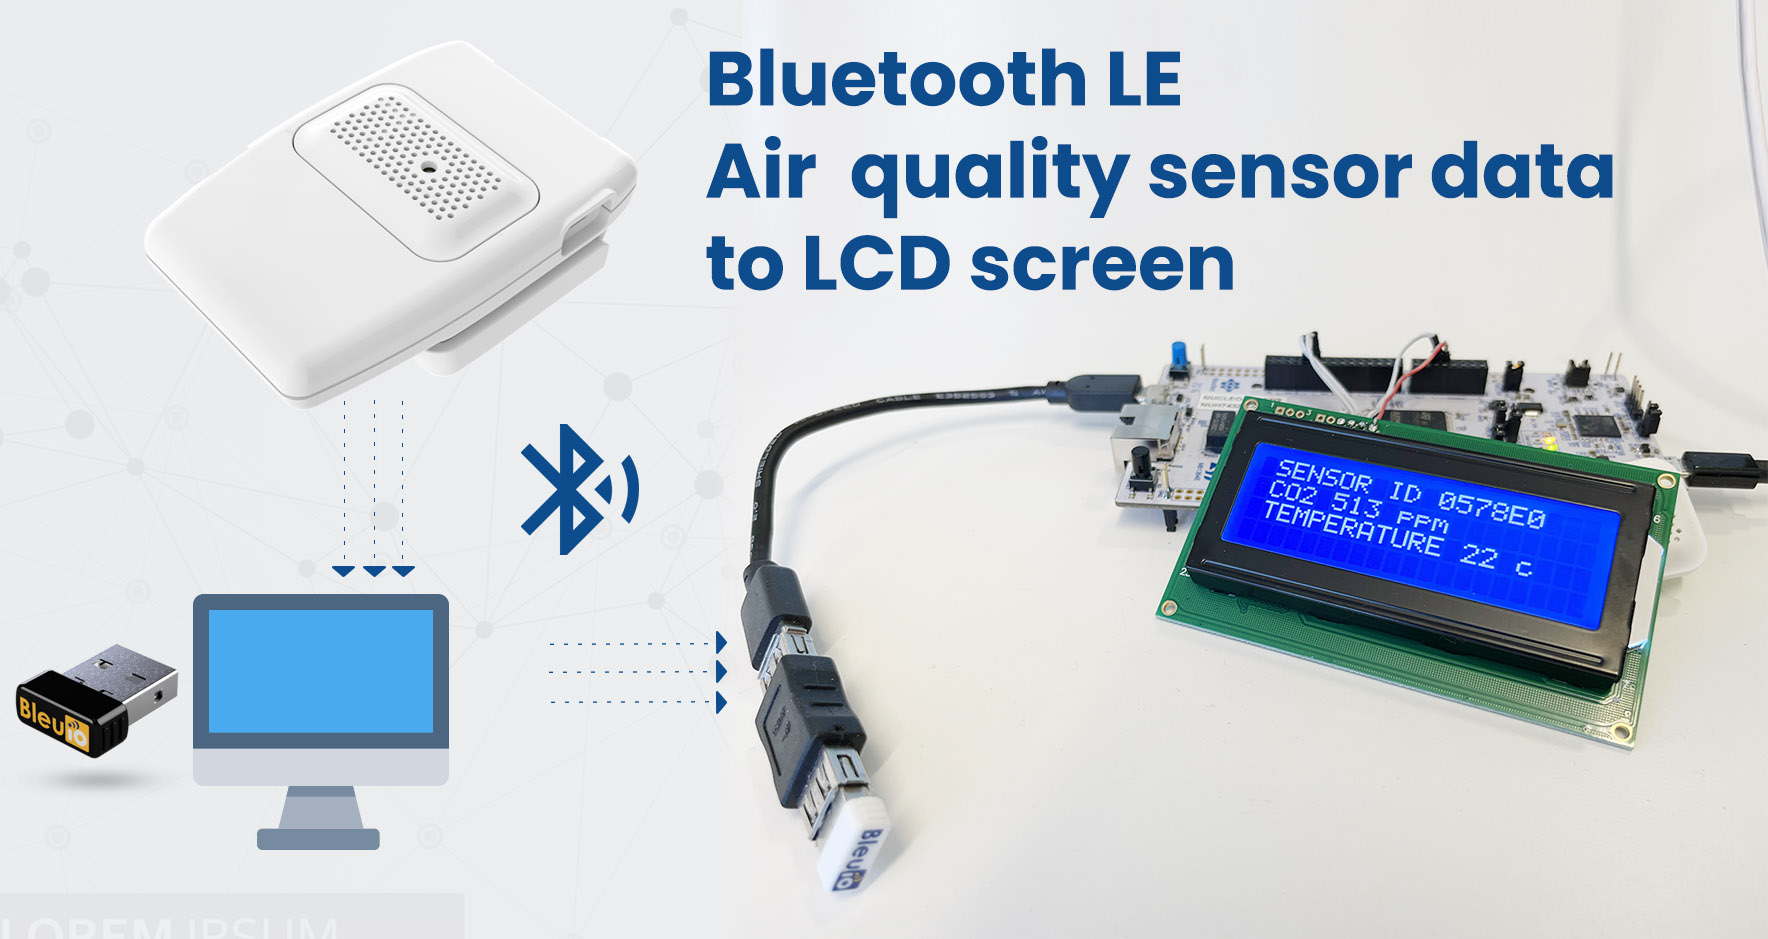
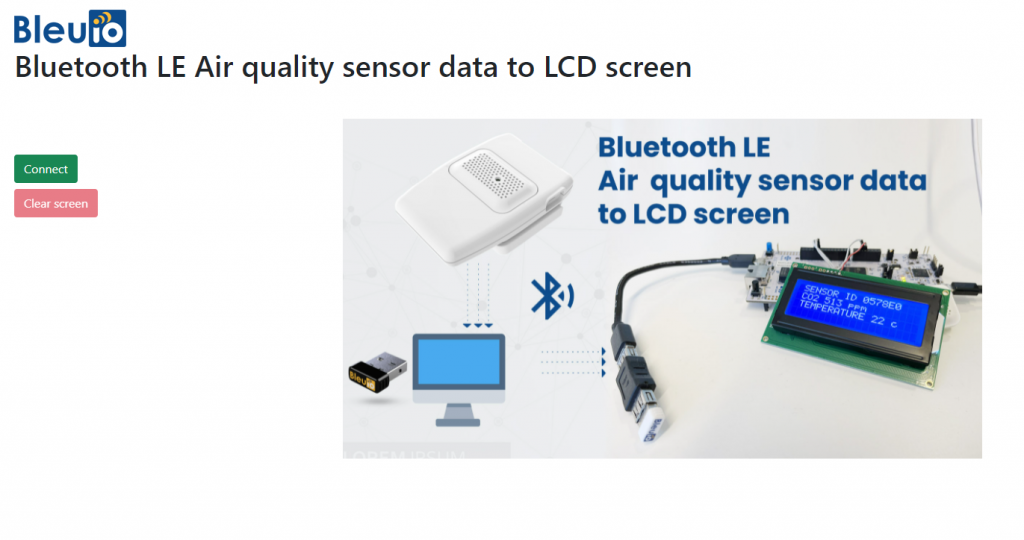
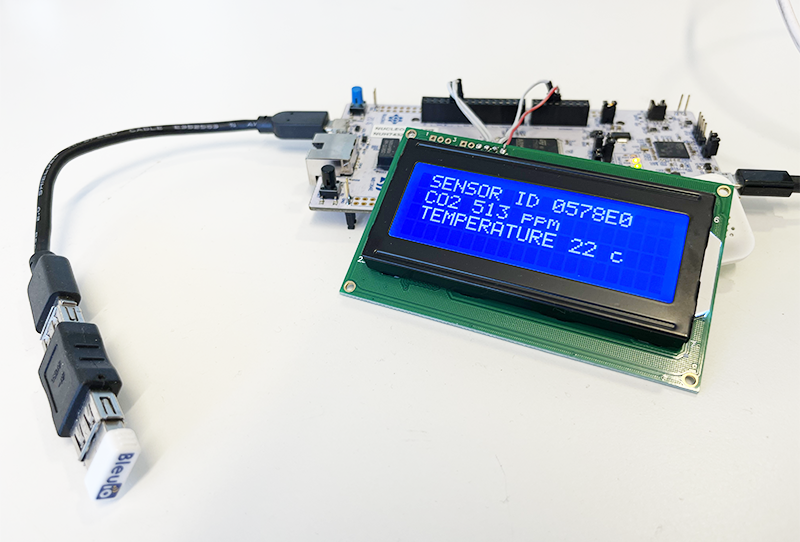
There are so many Bluetooth-enabled smart devices that it can be confusing how the technology connects the devices. Often we want to connect to multiple peripheral devices simultaneously to get advertised packets or do other operations. In this article, we will see how we can get advertised packets from two different Air quality monitoring sensor devices.
For this project, we will use Chrome Web serial API to connect to a Bluetooth USB dongle. Using the serial port read/write operation we will scan for specific device advertised data and filter out what we need. After that, we decode the advertised packet to meaningful air quality data using the device documentation.
Requirments
Steps
At first, we will get the bleuIO javascript library from NPM. This library will help us easily connect to the serial port,wtire AT commands and read responses in real-time.
Type npm i bleuio on the command prompt of your project root folder.
After that, we create two files. index.html and script.js
Index.html will be responsible for the output and layouts of the project.
Script.js will have the programming and logic to connect to the dongle and read/write data.
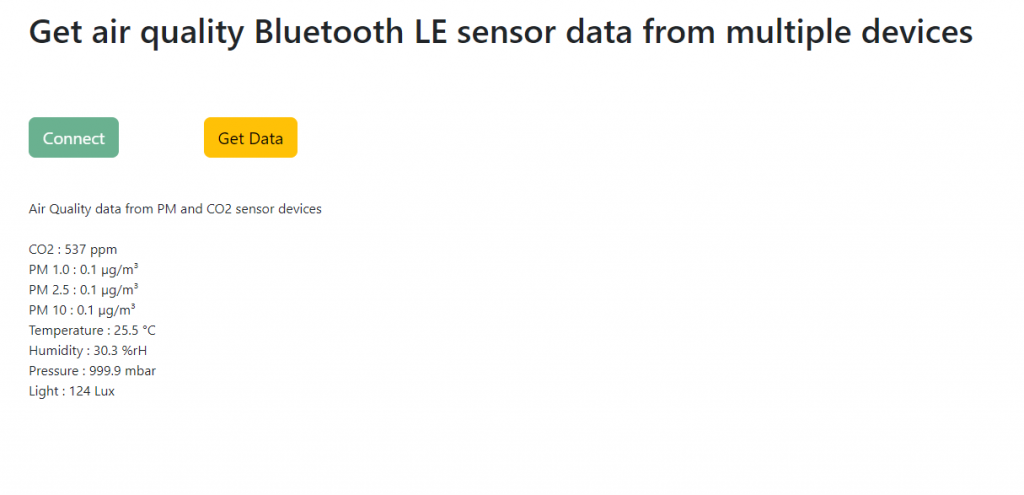
There will be two buttons connect and get data.
The connect button will connect to the bleuIO dongle using the serial port.
The get data button will do several tasks.
At first, we put the dongle in a dual role (central mode) so that it can scan for peripheral devices. Then we will look for advertised data with their sensor ID one after another.
Using the documentation from the air quality device, we decode the advertised data.
Finally, we print it out on the screen.
Here is the index.html file code
<!DOCTYPE html>
<html lang="en">
  <head>
    <meta charset="utf-8" />
    <meta name="viewport" content="width=device-width, initial-scale=1" />
    <title>Bootstrap demo</title>
    <link
      href="https://cdn.jsdelivr.net/npm/bootstrap@5.2.0-beta1/dist/css/bootstrap.min.css"
      rel="stylesheet"
      integrity="sha384-0evHe/X+R7YkIZDRvuzKMRqM+OrBnVFBL6DOitfPri4tjfHxaWutUpFmBp4vmVor"
      crossorigin="anonymous"
    />
  </head>
  <body>
    <div class="container mt-5">
      <h1>Get air quality Bluetooth LE sensor data from multiple devices</h1>
      <br /><br /><br /><button
        id="connect"
        class="btn btn-success btn-lg me-5"
      >
        Connect
      </button>
      <button id="getData" class="btn btn-warning btn-lg ms-5">Get Data</button>
      <br />
      <br />
      <div id="loading" style="display: none">Fetching Data ...</div>
      <br />
      <div id="airData"></div>
    </div>

    <script src="script.js"></script>
  </body>
</html>
Here is script.js file code
import * as my_dongle from 'bleuio'
document.getElementById('connect').addEventListener('click', function(){
  my_dongle.at_connect()
  document.getElementById("connect").classList.add('disabled');
})
let dev1BoardID='45840D'
let dev2BoardID='60FDED'
document.getElementById('getData').addEventListener('click', function(){

    //show loading
    document.getElementById("loading").style.display = "block";
    //make the dongle in dual role , so it can scan for peripheral devices advertised data
    my_dongle.at_dual().then(()=>{
        //scan for a devices advertised data, a PM sensor
        my_dongle.at_findscandata(dev1BoardID,8).then((x)=>{
            //it returns an array of advertised data
            //from the array, we take the last one
            //it looks like this "[F9:0D:35:E7:72:65] Device Data [ADV]: 0201061BFF5B07050345840DB1031527FB002A010402040004000400000001"
            //then we split it by space
            //so we can get the advertised data only (the last part)
            return x[x.length-1].split(" ").pop()
        }).then((adv1)=>{
            //now lets decode the advertised data for this device using the device documentaion
            let pmEnvData=advDataDecode(adv1)
            //we do the same process to get advertised data of another device
            //after waiting 1 seconds
            setTimeout(()=>{
                my_dongle.at_findscandata(dev2BoardID,8).then((y)=>{
                    let adv2= y[y.length-1].split(" ").pop()
                    //again we decode the advertised data for this device using the device documentaion
                    let co2EnvData=advDataDecode(adv2)
                    //now merge pm data to this array
                    co2EnvData.pm1=pmEnvData.pm1
                    co2EnvData.pm25=pmEnvData.pm25
                    co2EnvData.pm10=pmEnvData.pm10
                    document.getElementById('airData').innerHTML=`
                    Air Quality data from PM and CO2 sensor devices<br/><br/>
                    CO2 : ${co2EnvData.co2} ppm<br/>
                    PM 1.0 : ${co2EnvData.pm1} µg/m³<br/>
                    PM 2.5 : ${co2EnvData.pm25} µg/m³<br/>
                    PM 10 : ${co2EnvData.pm10} µg/m³<br/>
                    Temperature : ${co2EnvData.temp} °C<br/>
                    Humidity : ${co2EnvData.hum} %rH<br/>
                    Pressure : ${co2EnvData.pressure} mbar<br/>
                    Light : ${co2EnvData.light} Lux<br/>

                    `
                    //hide loading
                    document.getElementById("loading").style.display = "none";
                })
            },1000)

        })
    })


  })

  const advDataDecode =((data)=>{
    let pos = data.indexOf("5B0705")
    let dt = new Date();
    let currentTs = dt.getFullYear()
    + '/'
    + (dt.getMonth() + 1).toString().padStart(2, "0")
    + '/'
    + dt.getDate().toString().padStart(2, "0")
    +' '
    +
    dt.getHours().toString().padStart(2, "0")
    +
    ':'
    +
    dt.getMinutes().toString().padStart(2, "0")
    +
    ':'
    +dt.getSeconds().toString().padStart(2, "0")
    let tempHex=parseInt('0x'+data.substr(pos+22,4).match(/../g).reverse().join(''))
    if(tempHex>1000)
        tempHex = (tempHex - (65535 + 1) )/10
    else
        tempHex = tempHex/10
    return {
      "boardID":data.substr(pos+8,6),
      "type":data.substr(pos+6,2),
      "light":parseInt('0x'+data.substr(pos+14,4).match(/../g).reverse().join('')),
      "pressure":parseInt('0x'+data.substr(pos+18,4).match(/../g).reverse().join(''))/10,
      "temp":tempHex,
      "hum":parseInt('0x'+data.substr(pos+26,4).match(/../g).reverse().join(''))/10,
      "pm1":parseInt('0x'+data.substr(pos+34,4).match(/../g).reverse().join(''))/10,
      "pm25":parseInt('0x'+data.substr(pos+38,4).match(/../g).reverse().join(''))/10,
      "pm10":parseInt('0x'+data.substr(pos+42,4).match(/../g).reverse().join(''))/10,
      "co2":parseInt('0x'+data.substr(pos+46,4)),
      "ts":currentTs
    }
})
Source code also available on github
https://github.com/shuhad/bluetooth_mutiple_device_read
Run the script
You can either clone the script from github or follow the instructions and make a new project.
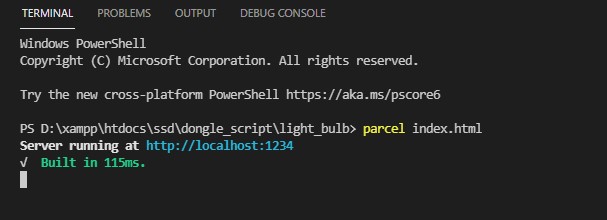
For this project to run we may need a web build tool. I prefer using parcel.
install parcel if you don’t have
npm install --save-dev parcel
Now run the script using
parcel index.html
Output
The script can be modified to read more than two devices as required.