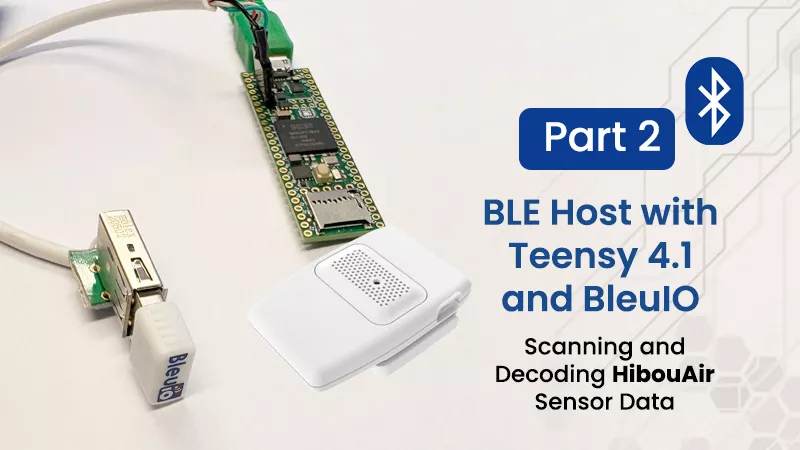
BleuIO integration - Scanning and Decoding (Part2)
In the previous project, we focused on getting Teensy 4.1 working as a USB Host for the BleuIO. The goal was simple: remove the PC from the equation and prove that a microcontroller could directly control BleuIO and communicate over BLE using AT commands.
This project builds on that foundation and does something practical with it. Instead of manually sending commands and observing responses, we now create a complete scanner that automatically detects nearby HibouAir sensors, reads their BLE advertisement data, decodes it, and prints meaningful environmental values in real time.
At this point, the system stops being a connectivity demo and becomes an actual application.
Hardware Requirements
- Teensy 4.1
- BleuIO
- HibouAir Air quality monitoring sensor
- USB cable
- USB TYPE A pcb adaptor
- Arduino IDE 2.x
- ArduinoJson library (v7.x or compatible)
Software Requirements
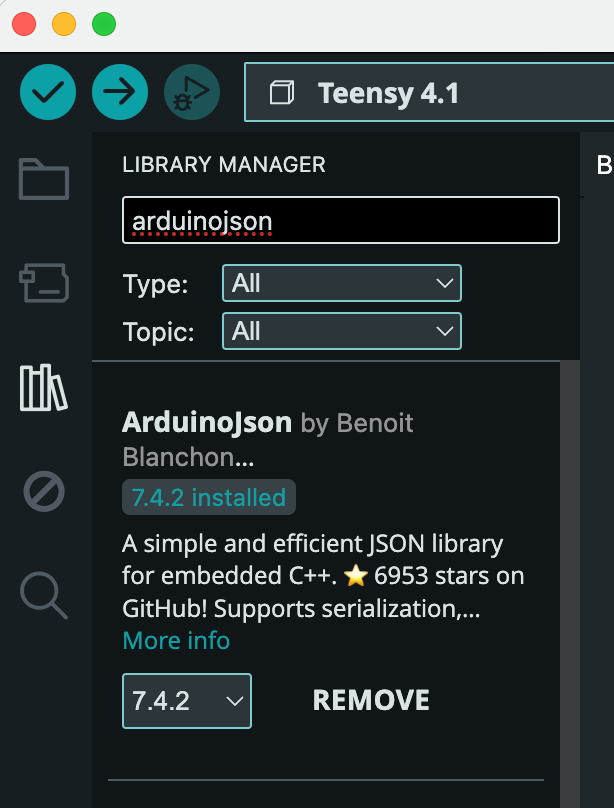
Install ArduinoJson
This project uses ArduinoJson to parse scan results from BleuIO.
In Arduino IDE:
- Open Library Manager
- Search for
arduinojson - Install version 7.x or compatible
ArduinoJson is required to deserialize the JSON scan data received from BleuIO.
How it Works
The architecture remains the same as in Part 1, but now it is used with purpose.
Teensy operates in USB Host mode and communicates directly with BleuIO. BleuIO handles all Bluetooth Low Energy scanning internally and outputs scan results as structured JSON strings over USB serial. Teensy receives those strings, parses the JSON content, extracts the manufacturer-specific payload, and decodes it into usable values.
Conceptually, the flow looks like this:
Teensy 4.1 (USB Host + Application Logic)
↓
BleuIO (BLE Scanning Engine)
↓
BLE Advertisement Data (JSON)
↓
HibouAir Decoder
↓
Readable Environmental Measurements
The important thing to notice here is that Teensy never deals with BLE packets directly. There is no radio handling, no GAP or GATT management, and no BLE stack integration. Everything related to Bluetooth stays inside BleuIO. The microcontroller simply receives structured scan results and processes them like any other data stream.
Automatic Startup and Scanning
When the firmware starts, it configures BleuIO automatically. It disables command echo, enables verbose mode, and then sends a filtered scan command:
AT+FINDSCANDATA=FF5B07
This tells BleuIO to report only devices containing the HibouAir manufacturer identifier. From that moment, scan results begin arriving continuously as JSON lines.
Each line contains fields such as the device address and a data field containing the manufacturer payload in hex format. That hex string is where the sensor readings are encoded.
Parsing the JSON Data
Since scan data arrives asynchronously, the project includes a small USB serial line reader. It buffers incoming characters until a newline is detected, ensuring that we always attempt to parse complete JSON messages.
The ArduinoJson library is used to deserialize each line into a JsonDocument. Once deserialized, we check that the expected scan fields are present. If so, we extract the hex-encoded manufacturer payload and pass it to the HibouAir decoder.
At this stage, the data is still raw — just a long hex string representing packed bytes from the BLE advertisement.
Decoding the HibouAir Advertisement Payload
The core of this project is the HibouAir structure. Instead of manually extracting bytes in the main loop, the decoding logic is encapsulated in a dedicated class.
The constructor receives the JSON document, extracts the data field, and interprets the hex string as a packed binary structure. Using offsetof() ensures that the correct byte offsets are used, and helper functions convert the hex pairs into integers. Because the BLE advertisement uses little-endian ordering, some fields require byte swapping before they become meaningful.
Once decoded, the class provides clean accessor functions such as:
getTemp()getHum()getBar()getCo2()getPM2_5()
These functions already return properly scaled values. For example, temperature is divided by 10 to convert from raw integer format to degrees Celsius.
This separation keeps the application logic simple. The main loop only needs to create a HibouAir object and call show_sensor() to print the values.
Example Output
When running the project with a nearby HibouAir sensor, the Serial Monitor shows structured environmental readings like this:
Sensor ID: 22008C
Light: 14 Lux
Pressure: 1007.3 hPA
Temperature: 22.9 C
Humidity: 14.1 %rh
CO2: 508 ppm
For particulate matter devices, additional values appear:
PM 1.0: 0.0 ug/m3
PM 2.5: 1.2 ug/m3
PM 10: 2.5 ug/m3
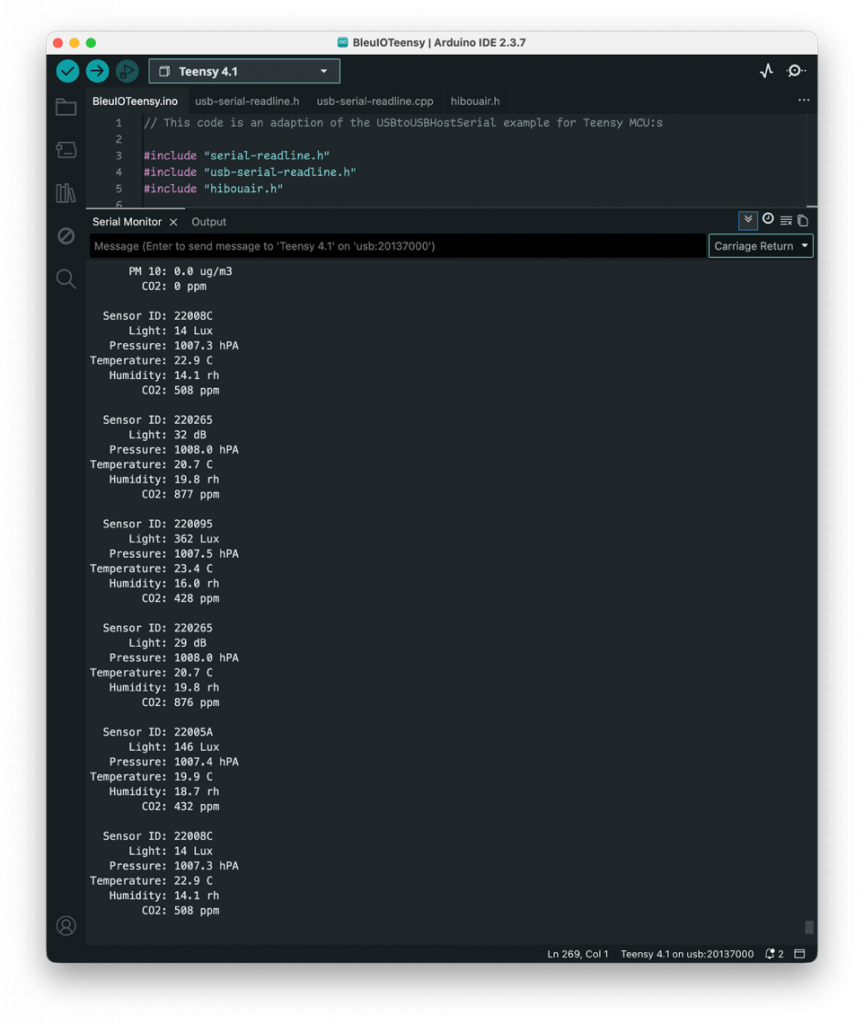
This output is generated directly from BLE advertisements without establishing a connection to the sensor. The sensors simply broadcast their measurements, and the system passively collects and decodes them.
GitHub Repository
The complete source code for this project is available here:
https://github.com/smart-sensor-devices-ab/bleuio-teensy-hibouair-scanner
You can clone the repository, install the ArduinoJson library through the Arduino IDE Library Manager, upload the sketch to Teensy 4.1, and run it immediately. The code is modular and organized so you can reuse the USB line reader, the HibouAir decoder, or the scanning logic in your own applications.
With this foundation in place, several natural extensions become possible. You could store measurements on an SD card, publish them via MQTT, expose them through a REST interface, or even build a complete air-quality gateway. The BLE side does not need to change.