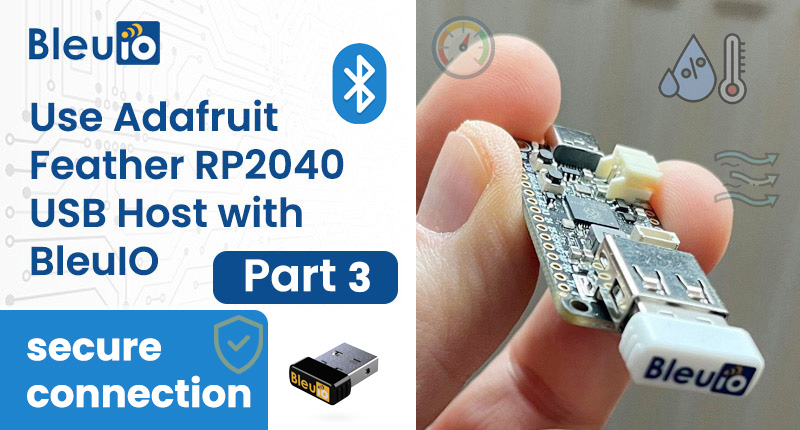
BleuIO integration (Part3)
Introduction
Building on the steps in our previous post Integrating BleuIO with Adafruit Feather RP2040 for Seamless BLE Applications Part 2 where we showed how to use the BleuIO to advertise sensor data, we are now going to put the data in a Custom Service. Additionally, we are going to protect the data by making it only available with a secure connection that can only be established by entering a 6-digit passkey.
This example is going to show you how to start protecting your data as well as how to set up and use a custom service.
Requirements
- Adafruit Feather RP2040 Board
- BleuIO – Bluetooth Low Energy USB Dongle
- Arduino IDE
- A Gas sensor BME680
- A OPT3002 Light-to-Digital Sensor
- Our example project [Download from GitHub]
Running the example
Make sure the BleuIO Dongle is connected to the Feather RP2040 Board. Connect the Feather RP2040 Board to your computer using the USB cable.
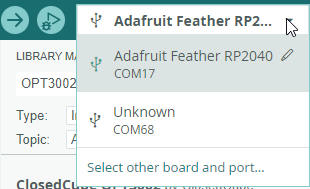
Make sure the Feather RP2040 Board is selected as well as the correct COM port in the drop-down menu.
(Optional) Change the passkey used for the secure connection and/or the frequency the sensors are read, in the code
/* Requires 6 digits */
#define SECURE_CONN_PASSKEY "232425"

// How often we read the sensors and update the characteristics (in
seconds)
#define READ_UPDATE_FREQUENCY   5
Click the Upload button.

Done! The dongle should now be advertising the sensor values. (If you just plugged in the Feather it may take about 15 seconds before advertising starts as the BleuIO bootloader opens and closes)
(Optional) Open Serial Monitor. You can open the Serial Monitor from the menu:
Tools>Serial Monitor
You should now see the output from the project.
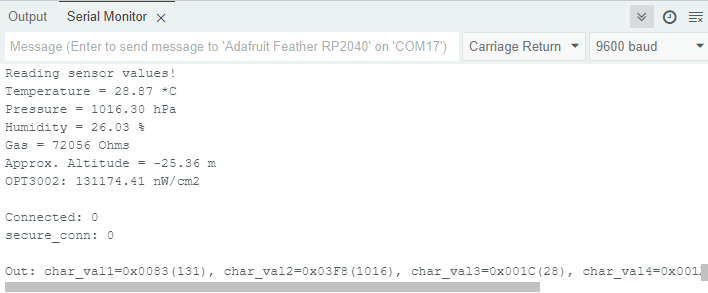
Getting the data
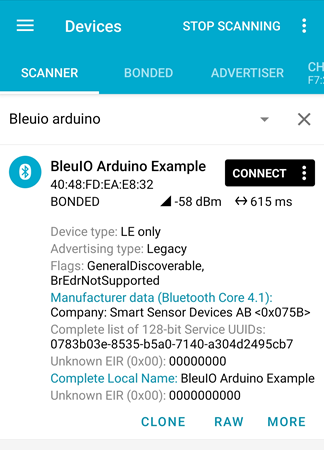
To get the results you can use any BLE scanner app. Here we use nRF Connect:
Find the device that advertise as BleuIO Arduino Example and connect.
You will be prompted to pair.
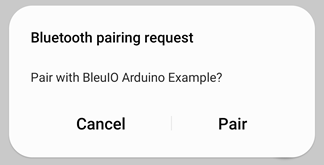
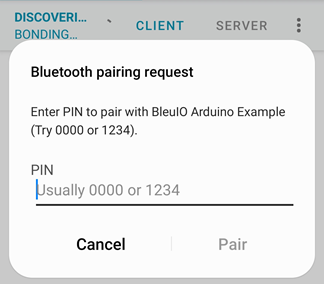
And then to enter the passkey.
Enter the passkey/pin (default: 232425) and continue.
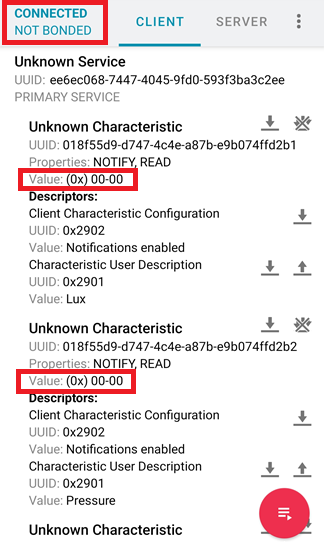
Go to the service with the UUID: ee6ec068-7447-4045-9fd0-593f3ba3c2ee Notice that you are now bonded.
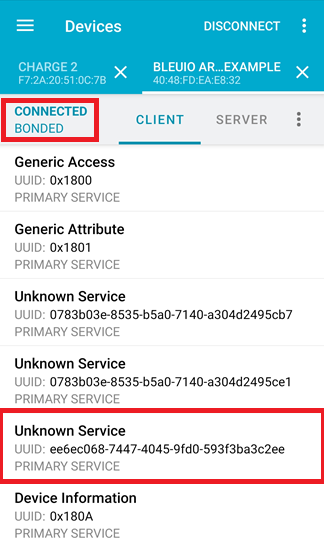
The service has 5 characteristics, one for each of the sensor values:
1. Lux
2. Pressure
3. Temperature
4. Humidity
5. Gas resistance
Read and/or enable notification for each characteristic to see the data.
The Characteristic User Description Descriptor of each characteristic can be read to show what value it holds.
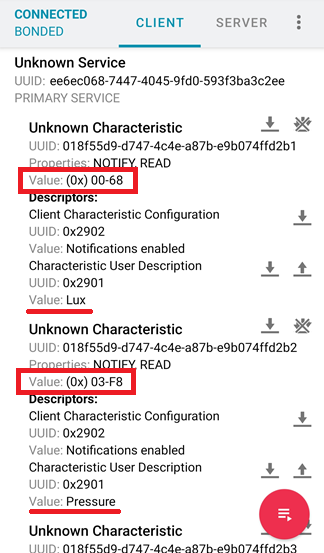
Like in the previous example, when we parse the hex into decimal values we get:
Lux: 0x0068 = 104 uW/cm2
Pressure: 0x03F8 = 1016 hPa
Temperature: 0x0017 = 23 Celcius
Humidity: 0x0017 = 23 %Rh
Gas Resistance: 0x0041 = 65 KOhms
If not bonded, the values will always show 00-00.