We’re living in the world of connected devices. The internet of things helps us live and work smarter, as well as gain complete control over our lives. One of the latest technological advancements in IoT is the MQTT gateway, which acts as a mediator between the cloud and IoT platforms.
MQTT stands for Message Queuing Telemetry Transport. It’s among the key communication protocols for the internet of things devices and local networks. It’s an ideal protocol for communication between smart devices or machine-to-machine communication.
What Is MQTT Gateway?
Generally, the MQTT gateway can be defined as an intermediary between any internet of things platform and sensors. It works by getting data from these sensors or smart devices and translating it into MQTT. It then transmits that data to either the internet of things platform or to the MQTT broker.
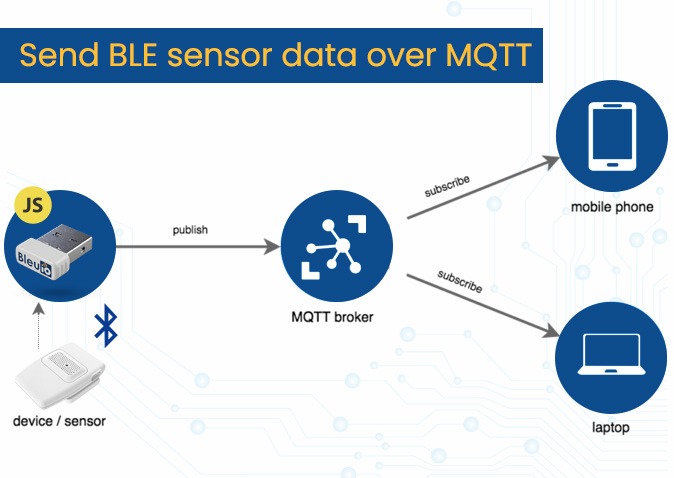
The publish/subscribe pattern
The publish/subscribe pattern (also known as pub/sub) provides an alternative to a traditional client-server architecture. In the client-server model, a client communicates directly with an endpoint. The pub/sub model decouples the client that sends a message (the publisher) from the client or clients that receive the messages (the subscribers). The publishers and subscribers never contact each other directly. In fact, they are not even aware that the other exists. The connection between them is handled by a third component (the broker). The job of the broker is to filter all incoming messages and distribute them correctly to subscribers.
MQTT Broker
A broker helps in handling clients in MQTT technology. It can manage hundreds, thousands, or millions of connected MQTT clients at once, depending on the implementation. Its main functions are;
- Receiving information
- Decoding and filtering the messages received
- Determining which client will be interested in which message
- Transmitting these messages to clients depending on their interests
The project
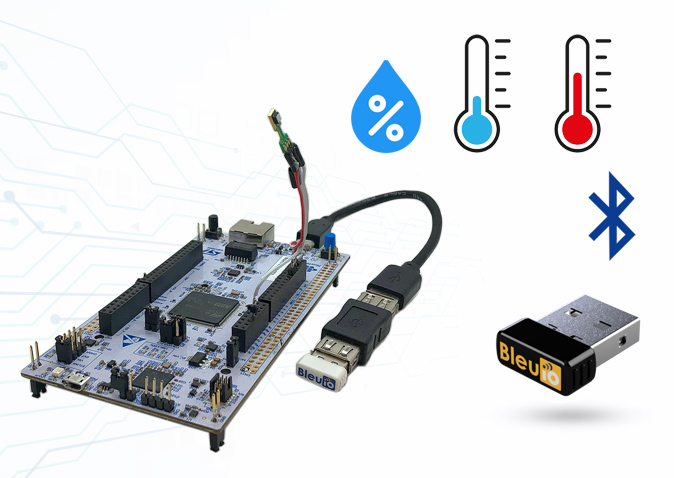
Let’s make a simple BLE 2 MQTT project that collects sensor data from a BLE Air quality monitor device called HibouAir and sends it to a free public MQTT broker.
For this project, we will use Flespi. You can choose any public or private MQTT broker as you like.
Steps
Requirments
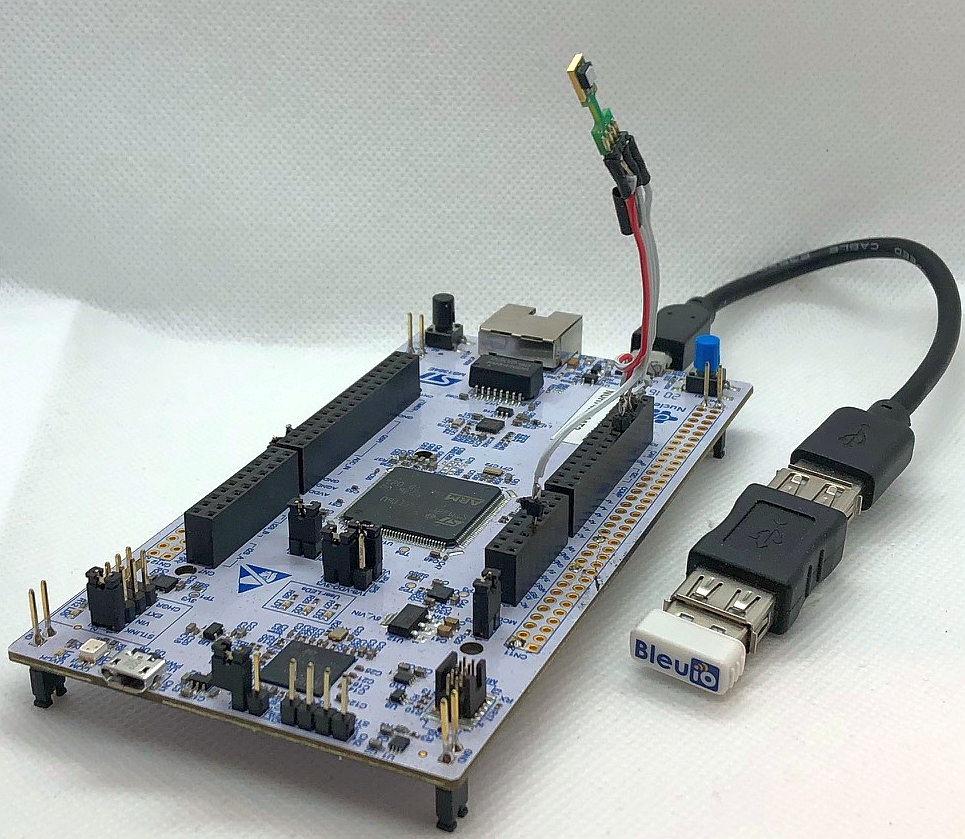
- A BleuIO dongle.
- A air quality monitor device HibouAir.
- A public MQTT broker (Flepsi token) https://flespi.com/mqtt-broker
- BleuIO Javascript library. https://www.npmjs.com/package/bleuio
- A build tool for Javascript (parcel) https://parceljs.org/docs/
Get the Flespi token
- Create an account at Flespi.
- Log into the Flespi dashboard.
- Copy the token

Download source file
Get the source file from https://github.com/smart-sensor-devices-ab/ble2mqtt_bleuio.git
And run npm install
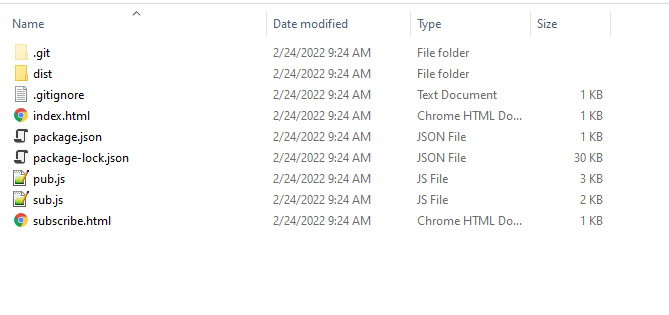
In the root folder, we will see two Html files called index.html and subscribe.html and two js files called pub.js and sub.js
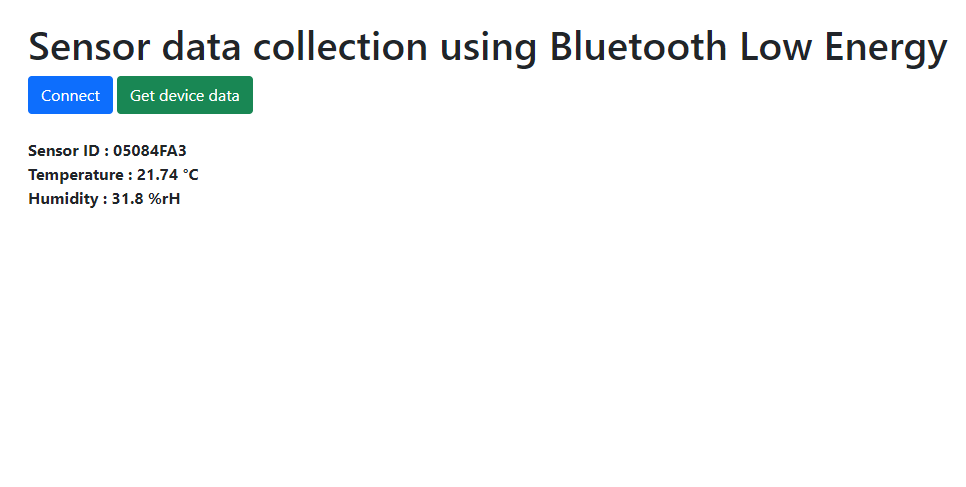
Index.html file collects sensor data from a BLE Air quality monitor device called HibouAir with the help of BleuIO. It has three buttons. connect, device info and Scan and Send BLE Data.
First we need to connect a BleuIO dongle into the computer and connect to it using connect button. The device info button will show BleuIO dongle status on console log. And the Scan and Send BLE data will scan for Air quality data and send it to the cloud. For this script I am scanning and collecting a fixed device with the board id of 0578E0. You can change the value in pub.js file line number 4
Here is the index.html file
<!DOCTYPE html>
<html lang="en">
  <head>
    <meta charset="UTF-8" />
    <meta http-equiv="X-UA-Compatible" content="IE=edge" />
    <meta name="viewport" content="width=device-width, initial-scale=1.0" />
    <link
      href="https://cdn.jsdelivr.net/npm/bootstrap@5.1.3/dist/css/bootstrap.min.css"
      rel="stylesheet"
      integrity="sha384-1BmE4kWBq78iYhFldvKuhfTAU6auU8tT94WrHftjDbrCEXSU1oBoqyl2QvZ6jIW3"
      crossorigin="anonymous"
    />
    <title>Publish</title>
  </head>
  <body>
    <div class="container mt-5">
      <button id="connect" class="btn btn-secondary">Connect</button>
      <button id="deviceinfo" class="btn btn-success d-none">
        Device Info
      </button>
      <button id="sendData" class="btn btn-primary">
        Scan and Send BLE Data
      </button>

      <h3 class="mt-5">Message Sent</h3>
      <div id="output"></div>
    </div>
  </body>
  <script src="./pub.js"></script>
</html>
After collecting advertised data, we try to decode it and get meaningful air quality data with co2, pressure, temperature, humidity, light values. Then we publish the data to Flepsi broker using topic name HibouAirTopic
The process is done in pub.js file.
Here is the pub.js file
const clientId = 'hibouair_' + Math.random().toString(16).substr(2, 8)
import * as my_dongle from 'bleuio'
import 'regenerator-runtime/runtime'
const sensorID = '0578E0'
import * as mqtt from "mqtt"
document.getElementById('connect').addEventListener('click', function(){
  my_dongle.at_connect()
})
document.getElementById('deviceinfo').addEventListener('click', function(){
  my_dongle.ati().then((data)=>console.log(data))
})

const getTheBLEData = ( async()=>{
  return my_dongle.at_dual().then(()=>{
    return my_dongle.at_findscandata(sensorID,6).then((x)=>{
      let advData = x[x.length - 1].split(" ").pop()
      let positionOfID= advData.indexOf(sensorID);
      let tempHex = advData.substring(positionOfID+14, positionOfID+18)
      let temp = parseInt('0x'+tempHex.match(/../g).reverse().join(''))/10;

      let pressHex = advData.substring(positionOfID+10, positionOfID+14)
      let press = parseInt('0x'+pressHex.match(/../g).reverse().join(''))/10;

      let humHex = advData.substring(positionOfID+18, positionOfID+22)
      let hum = parseInt('0x'+humHex.match(/../g).reverse().join(''))/10;

      let lightHex = advData.substring(positionOfID+6, positionOfID+10)
      let light = parseInt('0x'+lightHex.match(/../g).reverse().join(''));

      let co2Hex = advData.substring(positionOfID+38, positionOfID+42)
      let co2 = parseInt('0x'+co2Hex);


      return {
        'CO2' :co2,
        'Temp' :temp,
        'Pressure':press,
        'Humidity':hum,
        'Light':light,
      }
    })
  })
})


//pass data
document.getElementById('sendData').addEventListener('click', function(){
    const host = 'wss://mqtt.flespi.io:443'

    const options = {
      keepalive: 60,
      clientId: clientId,
      protocolId: 'MQTT',
      username:'SET_YOUR_USERNAME',
      password:'SET_YOUR_PASSWORD',
      protocolVersion: 4,
      clean: true,
      reconnectPeriod: 1000,
      connectTimeout: 30 * 1000,
      will: {
        topic: 'HibouAirMsg',
        payload: 'Connection Closed abnormally..!',
        qos: 0,
        retain: false
      },
    }
    const client  = mqtt.connect(host, options)
    client.on('connect',()=>{
        console.log('connected mqtt client',clientId)

    })

    client.on('error', (err) => {
      console.log('Connection error: ', err)
      client.end()
    })

    client.on('reconnect', () => {
      console.log('Reconnecting...')
    })

    var topic = 'HibouAirTopic'

    // Publish
    setInterval(() => {

        getTheBLEData().then((x)=>{
          client.publish(topic, JSON.stringify(x), { qos: 0, retain: false })
        console.log("Message sent!", JSON.stringify(x));
        document.getElementById('output').innerHTML += JSON.stringify(x)+"<br>";
        })
      }, 5000);

    })
Make sure to set your username and password and change the Board ID of your device on pub.js file.
Subscribe.html file works as a subscriber which reads sensor data from the broker and shows it on the screen.
here is the subscribe.html file
<!DOCTYPE html>
<html lang="en">
  <head>
    <meta charset="UTF-8" />
    <meta http-equiv="X-UA-Compatible" content="IE=edge" />
    <meta name="viewport" content="width=device-width, initial-scale=1.0" />
    <title>Subscribe</title>
  </head>
  <body>
    <h3>Message Received</h3>
    <div id="output"></div>
  </body>
  <script src="https://unpkg.com/mqtt/dist/mqtt.min.js"></script>

  <script src="sub.js"></script>
</html>
Again we need a js script that fetch data from cloud and show it on html file. Here is the sub.js file
const clientId = 'hibouair_' + Math.random().toString(16).substr(2, 8)

//const host = 'ws://broker.emqx.io:8083/mqtt'
const host = 'wss://mqtt.flespi.io:443'

const options = {
  keepalive: 60,
  clientId: clientId,
  protocolId: 'MQTT',
  username:'YOUR_USERNAME',
  password:'YOUR_PASSWORD',
  protocolVersion: 4,
  clean: true,
  reconnectPeriod: 1000,
  connectTimeout: 30 * 1000,
  will: {
    topic: 'HibouAirMsg',
    payload: 'Connection Closed abnormally..!',
    qos: 0,
    retain: false
  },
}

const client = mqtt.connect(host, options)
client.on('connect',()=>{
  console.log('connected mqtt client',clientId)
  client.subscribe('HibouAirTopic', { qos: 0 })
})
client.on('error', (err) => {
  console.log('Connection error: ', err)
  client.end()
})

client.on('reconnect', () => {
  console.log('Reconnecting...')
})


  // Received
client.on('message', (topic, message, packet) => {
  console.log(JSON.parse(message))
  //console.log('Received Message: ' + message + '\nOn topic: ' + topic)
  document.getElementById('output').innerHTML += message.toString()+"<br>";

})
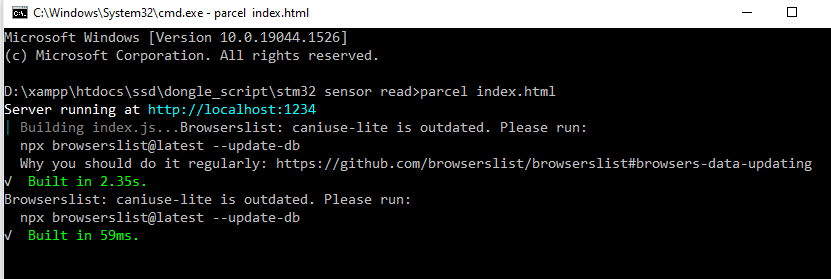
To run the index.html we can just type
parcel index.htmlParcel JS can be installed from https://parceljs.org/
Project Video