Bleuio Firmware Update V2.0.8 with Indication and Notification

BleuIO released a new firmware version 2.0.8 on October 22, 2021, introducing new features and enhancements to improve productivity. You can download the updated firmware from

https://www.bleuio.com/getting_started/docs/firmware/

Following features has been added to this release 

  • Added support for indication type notifications.
  • You now have more control over indications and notifications. Notifications and indications will only show if you have enabled them. An exception is when connecting to another BleuIO Dongle; it will still enable the required notifications used by the SPS service. You can manually disable them if you want with the AT+CLEARNOTI command.
  • Added a new command AT+SETINDI that will allow you to enable indications.
  • Added a new command AT+CLEARINDI that will allow you to disable indications.
  • Added a new command AT+NOTI that will show a list of enabled notifications and their connection.
  • Added a new command AT+INDI that will show a list of enabled indications and their connection.

Indications and Notifications

Indications and Notifications are a way for a GATT Client to subscribe to data provided by a GATT Server. A client has to configure Indications and Notifications for a characteristic’s value through its client characteristic configuration descriptor to get notified every time a characteristic’s value gets updated on the server.

  • Indications need to be acknowledged by the client. The server does not send the following indication until it gets the acknowledgement back from the client. The client sent a confirmation message back to the server; this way server knows that message reached the client. Hence communication via indications is slower.
  • Notifications don’t need to be acknowledged, so they are faster. Hence, the server does not know if the message reaches the client.
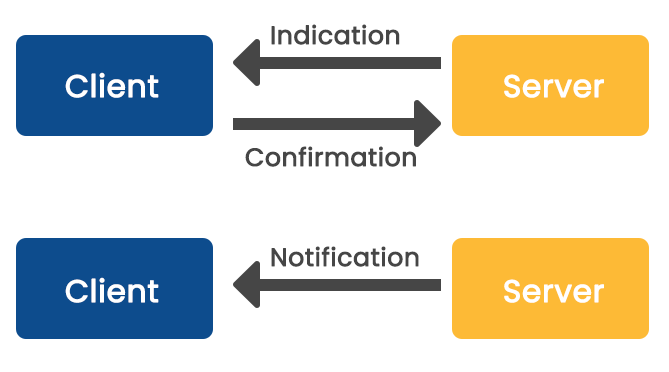
Indications and Notifications are essential mechanisms for receiving server-side data because they are the only and fastest mechanisms for receiving asynchronous server-side updates. Since Bluetooth Low Energy was designed to be energy efficient, this asynchronous method of receiving updates prevents continuous polling of the server by the client and, hence, is a huge energy saver too.
Share this post on :

Build your own firmware for BleuIO – An advertising example

The BleuIO is Bluetooth low energy USB dongle that can be used to create new BLE 5.0 applications in the fastest and easiest way. The BleuIO comes with a bootloader that allows you to update the firmware or flash your own application to the dongle. 

This guide will show you how to get started with making your own firmware for the BleuIO Dongle by importing our advertising example project and running it on the BleuIO dongle.

Introduction

This project has both USB CDC and BLE in Peripheral Mode. This allows you to create your own command interpreter that takes in commands to the Dongle via a serial terminal. You can then use this to execute BLE tasks such as start set advertsing or response data, start and stop advertsing etc.

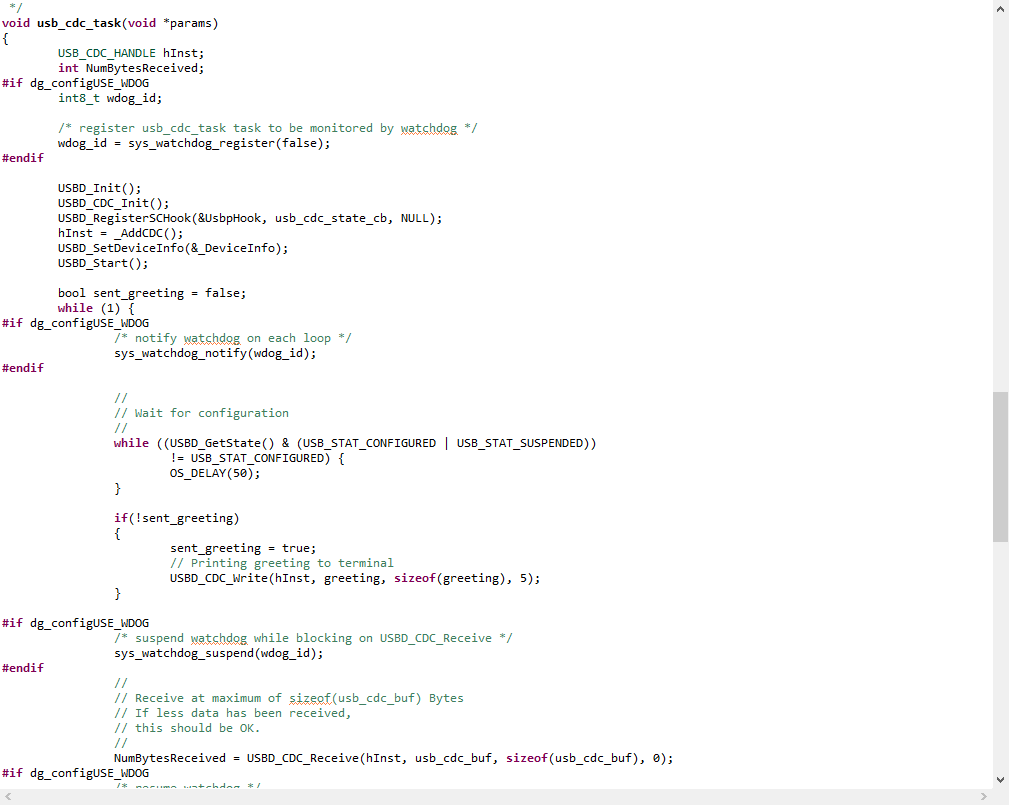
The project, like the previous, uses FreeRTOS and handles the usb cdc functions in the usb_cdc_task located in the usb_cdc.c:

USB CDC task!

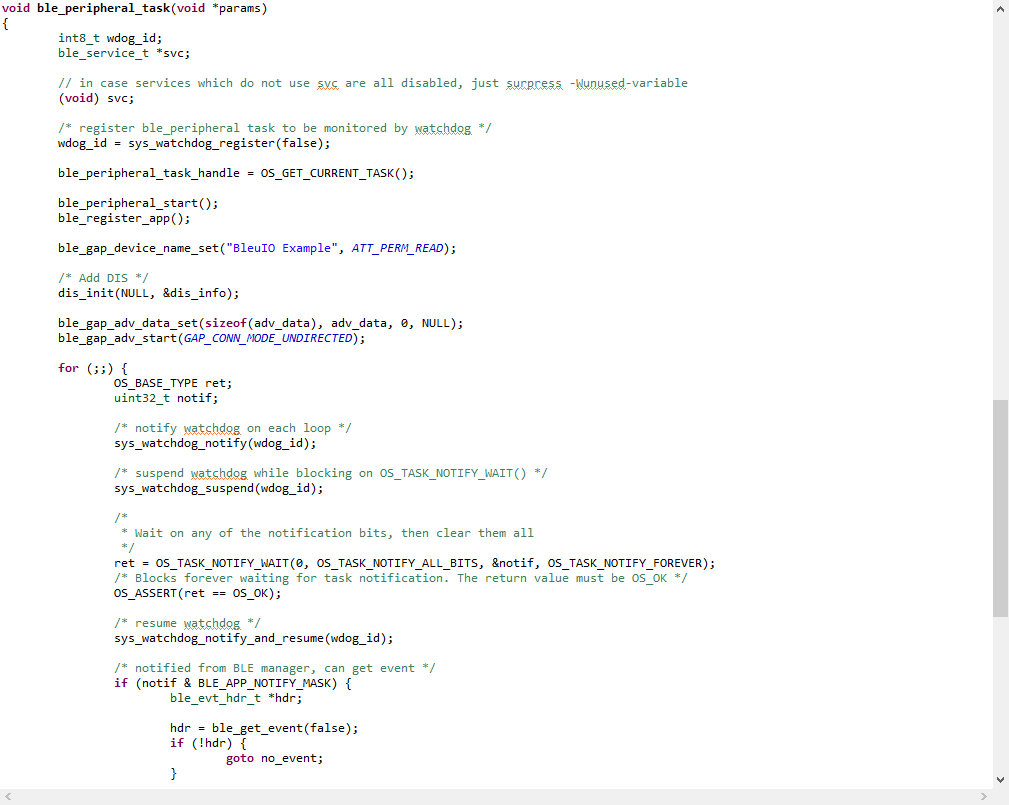
And the ble functions in the ble_peripheral_task located in ble_peripheral_task.c:

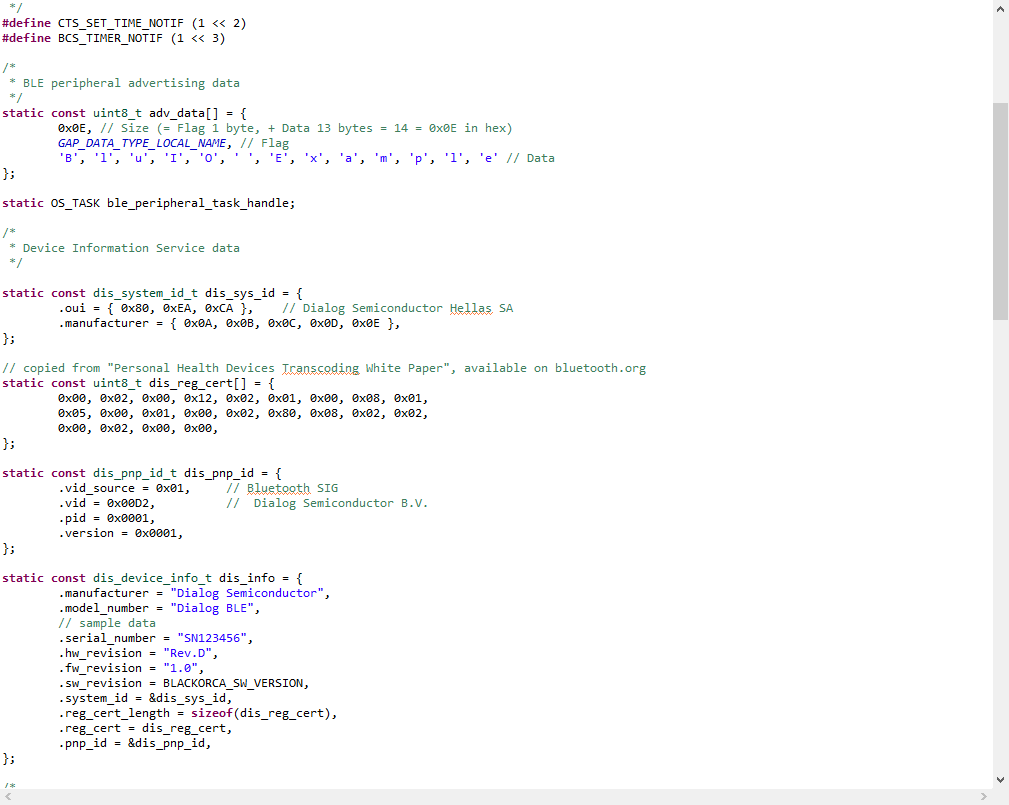
The example will start advertsing and is connecteble. It also has the Device Information Service (DIS) with some default values taken from Dialog Semiconductor’s ble_peripheral example. This and the advertising data can be changed in ble_peripheral_task.c:

DIS Service and Advertising Data!

Setup

Download the example project HERE (bleuio_advertising_example.zip or you can clone it from Github at https://github.com/smart-sensor-devices-ab/bleuio_ble_advertising_example.git

Follow the guide for Build Your Own Firmware to import and build the project.

Running the Application

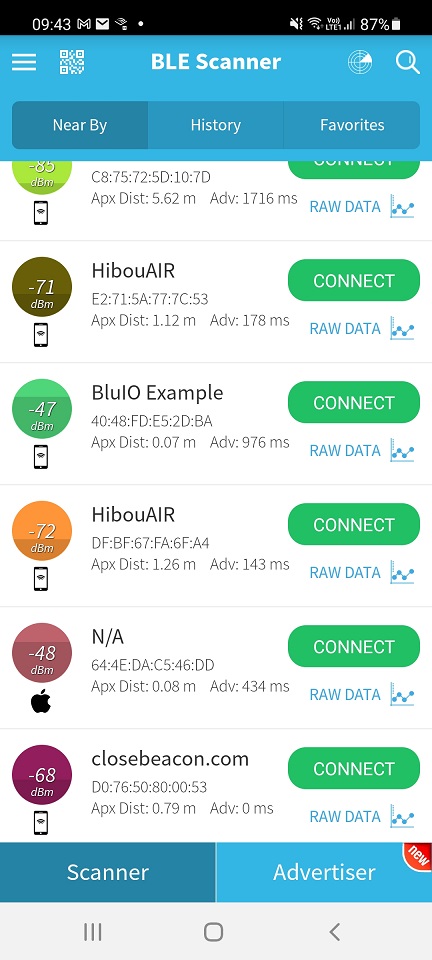
  • When running the example it will, just like the previous example, open a com port that will echo what every you type into the terminal. It will also start advertising with the name “BleuIO Example”.
  • You can scan for it using another dongle with the BleuIO firmware or download a BLE scanning App like ‘BLE Scanner’ or ‘LightBlue”.BLE Scanner!
Share this post on :

Build your own firmware for BleuIO

Introduction

The BleuIO is Bluetooth low energy USB dongle that can be used to create new BLE 5.0 applications in the fastest and easiest way. The BleuIO comes with a bootloader that allows you to update the firmware or flash your own application to the dongle. 

This guide will show you how to get started with making your own firmware for the BleuIO Dongle by importing our example project and running it on the BleuIO dongle.

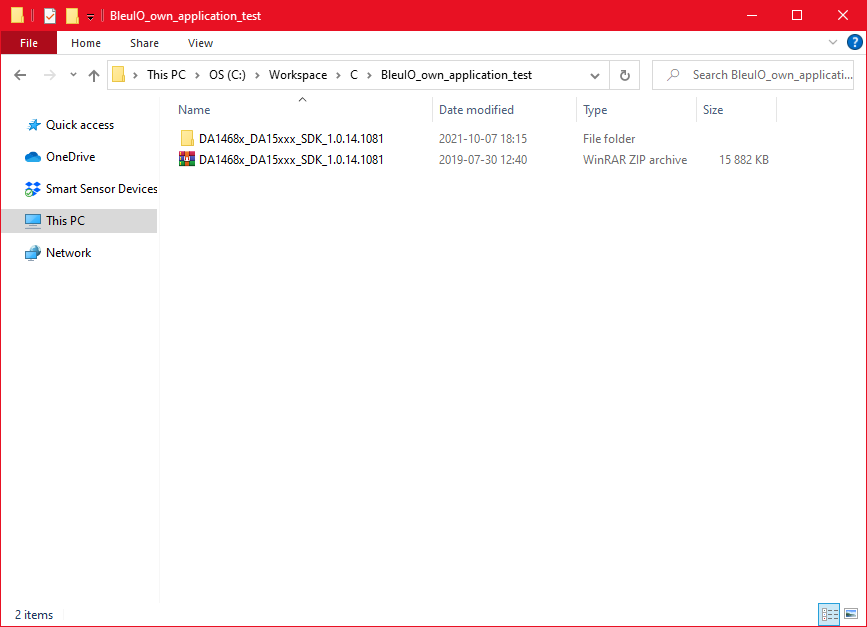
The project itself is a modified version of Dialog Semiconductor’s ‘usb_cdc’ example project made to work on the BleuIO Dongle.

The ‘usb_cdc’ example will echo anything typed in the terminal back.

Setup

Importing project

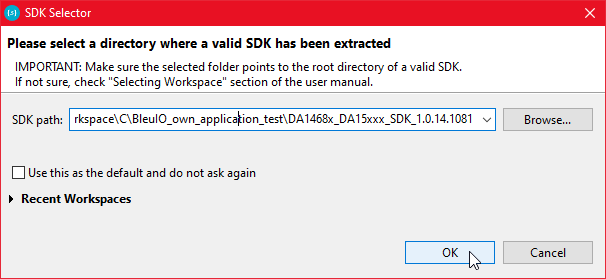
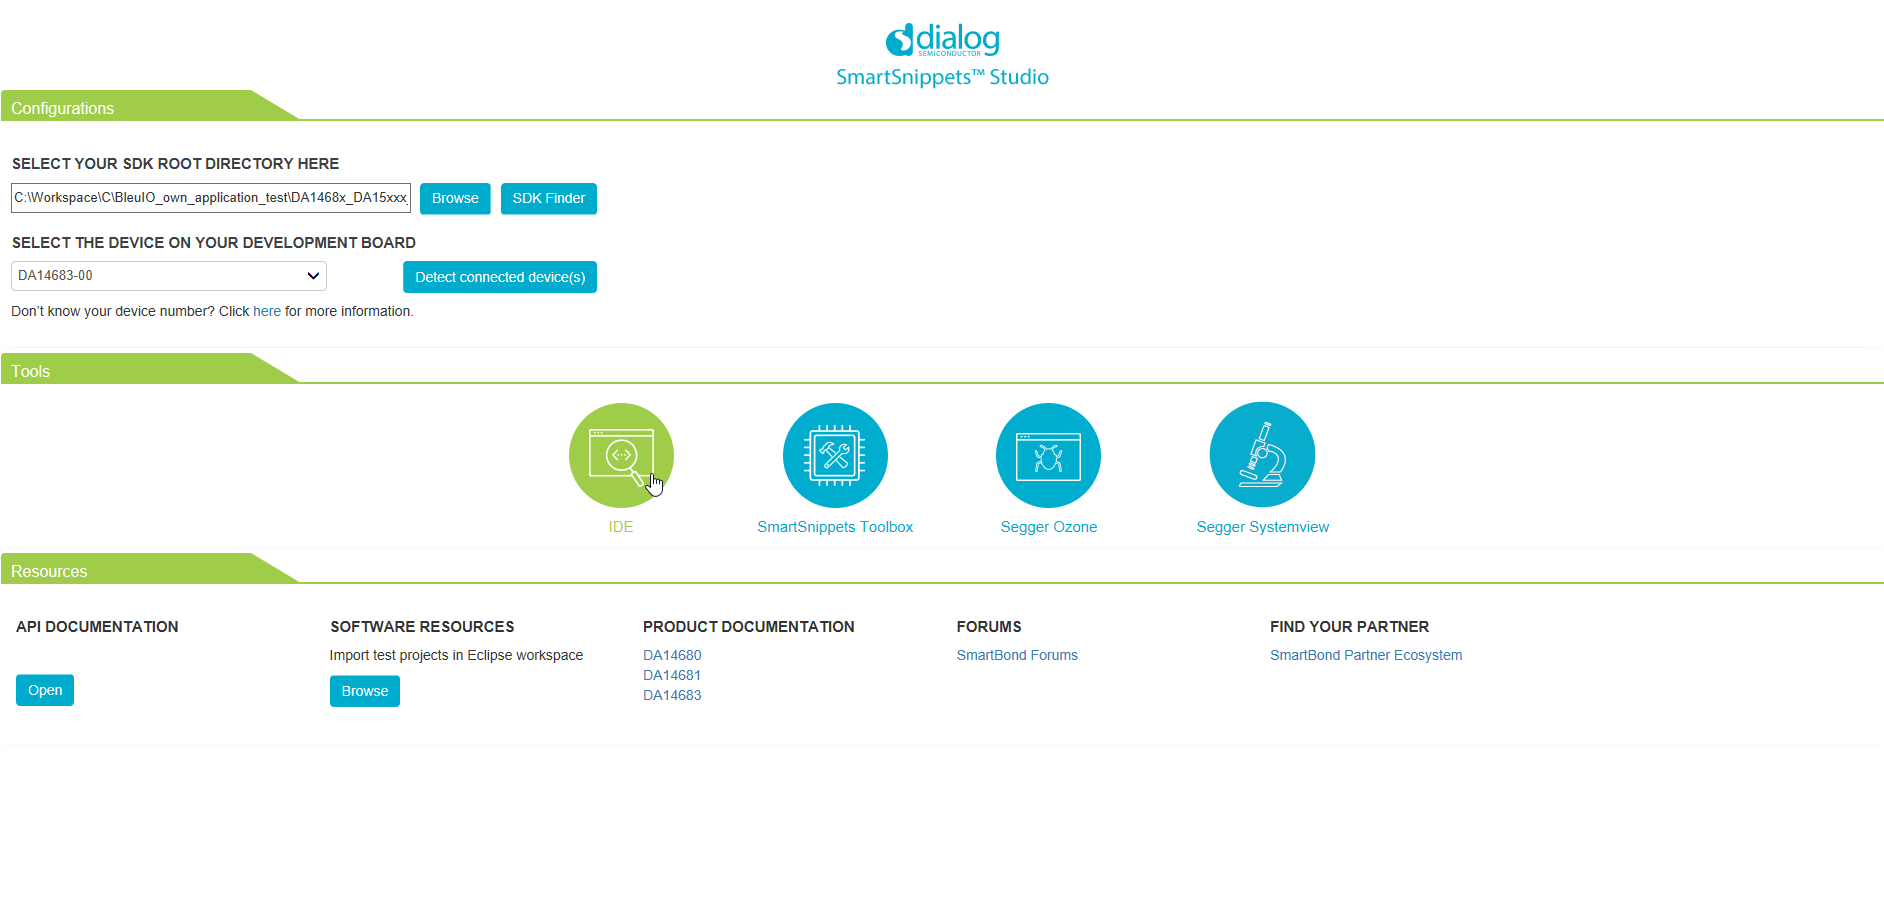
  • Open Smart Snippet Studio and when prompted, select the SDK you just downloaded: 

    Selecting SDK in Smart Snippet Studio!
  • Now click the IDE: 

    Open IDE in Smart Snippet Studio!
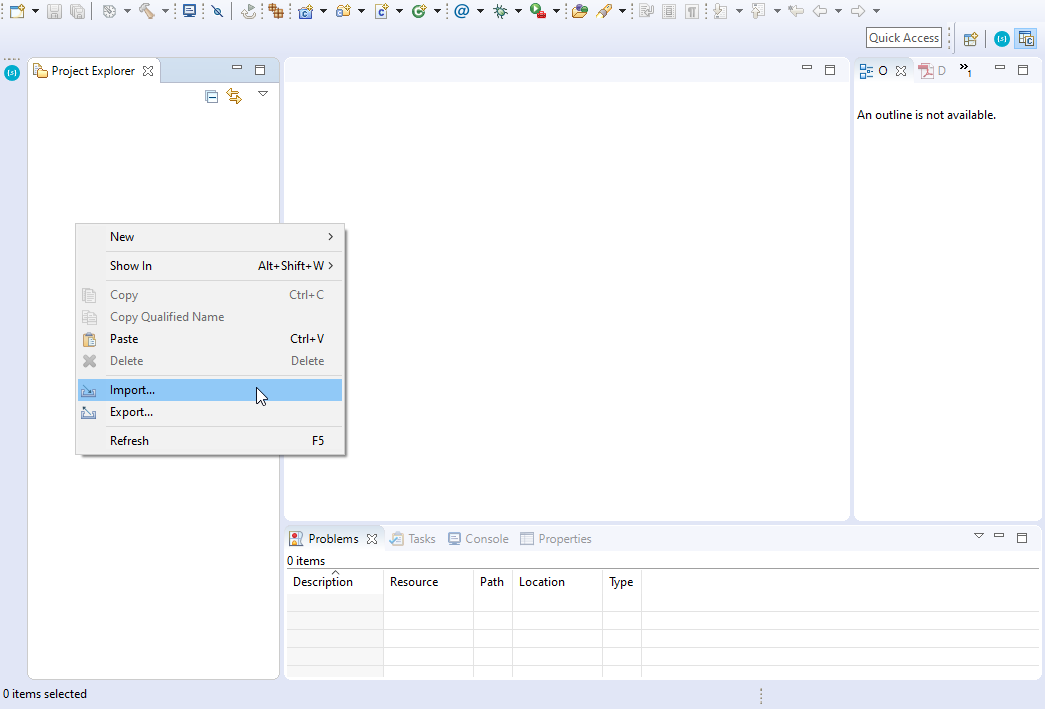
  • Right-Click in the Project Explorer window and select import: 

    Import project  in Smart Snippet Studio!
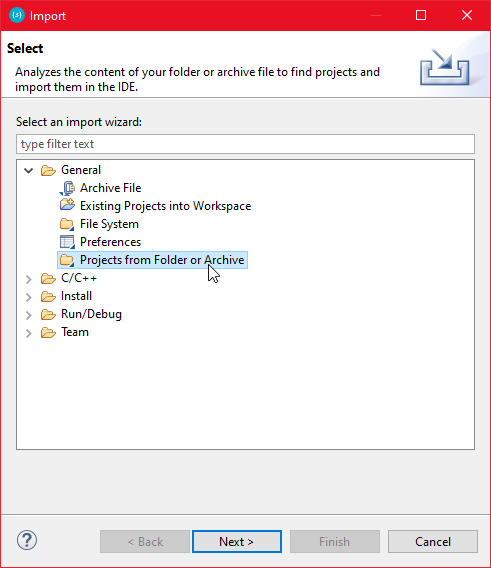
  • Select ‘Projects from Folder or Archive’ under the ‘General’ tab: 

    Import Projects from Folder!
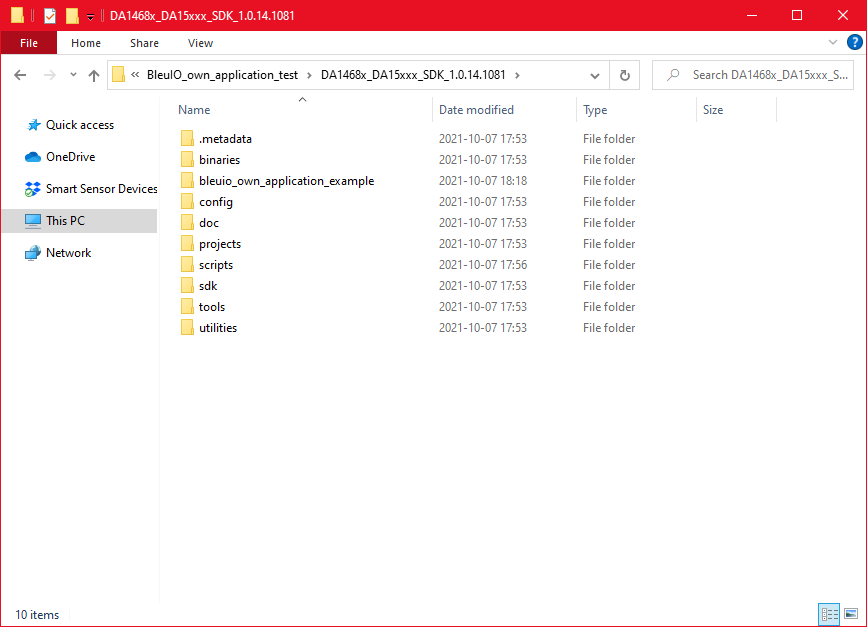
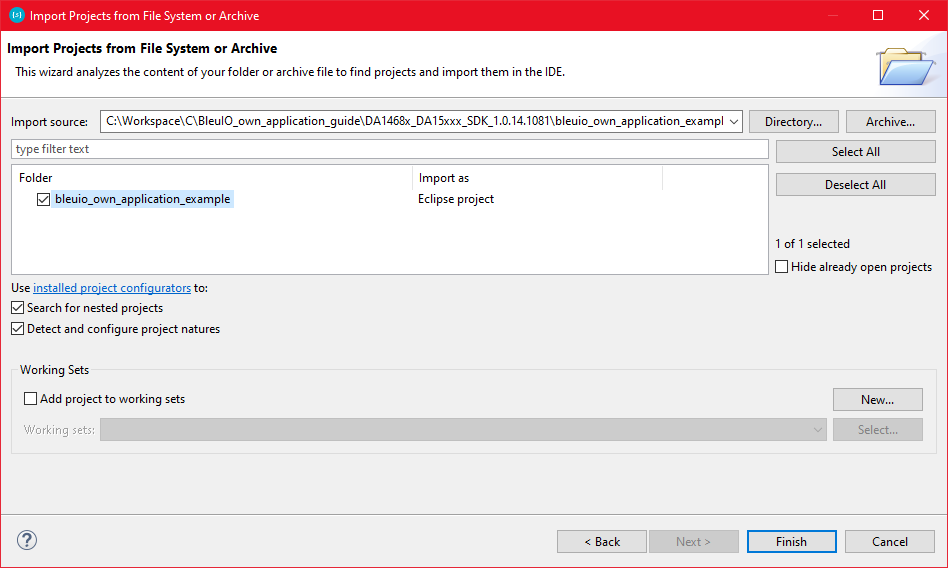
  • Click the ‘Directory…’ button and find the ‘bleuio_own_application_example’ project folder inside your SDK folder: 

    Select bleuio_own_application_example!
  • Finally, click ‘Finish’. You have now imported the project!

Building project and creating an image file

  • To create an image file that you can use to flash to the BleuIO Dongle via the bootloader, you must first build the project to create a bin file. To do that, click the ‘Hammer’ icon in the toolbar. Be sure to build the project for DA14683. Build Project!
  • Dialog Semiconductor has a file called mkimage.exe included in the SDK for generating image files. It can be run using the mkimage.bat file located at [SDK_Root]\utilities\scripts\suota\v11. It needs to point to the bin file you want to generate an image file from.
  • You can open up the command prompt in the same folder and run mkimage.bat like this:
mkimage.bat ..\..\..\..\bleuio_own_application_example\DA14683-00-Release_QSPI\bleuio_own_application_example.bin
Copy

You should now have an image file inside your build folder DA14683-00-Release_QSPI named bleuioown_application_example.1.0.0.1.img that can be flashed to the BleuIO Dongle using the ‘_host_usb_updater.exe‘ (More info about updating the firmware: [Firmware Update](../firmware#How to update your firmware)).

Running the Application

  • After you flashed the firmware to a BleuIO Dongle, open up a Serial Communication program (like TeraTerm, Putty or CoolTerm etc.), just like you would with the BleuIO Firmware. When first started you should be greeted by this: 

    Running Example!
  • If you type any text, the application will now echo what you type in the terminal.
Share this post on :

Bleuio Firmware Update V2.0.7

A new firmware update v 2.0.7 has been released for BleuIO and Smart USB Dongle 2.0. You can download the updated firmware from
 https://www.bleuio.com/getting_started/docs/firmware/

Bugfixes:

  • Problem sending over 99 bytes using AT-commands “AT+GATTCWRITEB” and “AT+GATTCWRITEWRB” resulted in an unexpected behaviour. 

To meet the demands of users, the BleuIO team will continue to update and add new features. To find out more about the updates of the dongles new firmware 2.0.7, please visit our Getting Started Guide

Share this post on :