How to use
Windows
Step 1
Step 2
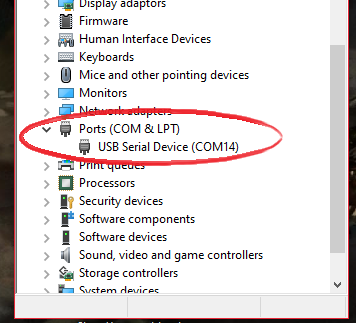
You can open up Device Manager to see that the dongle is properly connected. The BleuIO includes a bootloader which allows you to easily update the firmware (or flash your own application to the dongle, more on that HERE). When starting up, the dongle will open up a COM port for the bootloader for 10 seconds to allow you to update the firmware (or flash your own application). Afterwards it will close that port and open a new port for the BleuIO application which is the one we're interested in here.
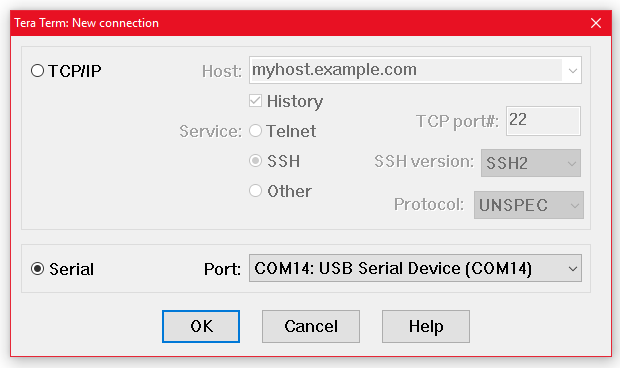
NOTE: The COM port number may vary and may not be the same as in the picture above.
Step 3
Step 4
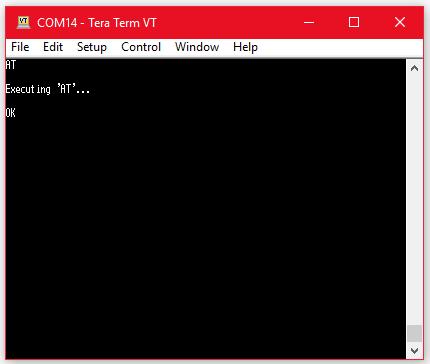
If you get an OK response that means the dongle is working.
Done
Great job! You are now ready to start using BleuIO!
Now check out the different AT Commands available or how to get started using scripts.
Linux / Raspberry Pi
Step 1
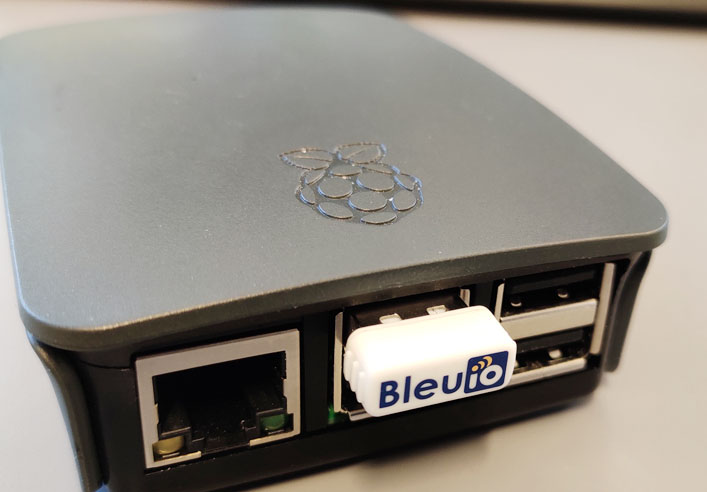
Step 2
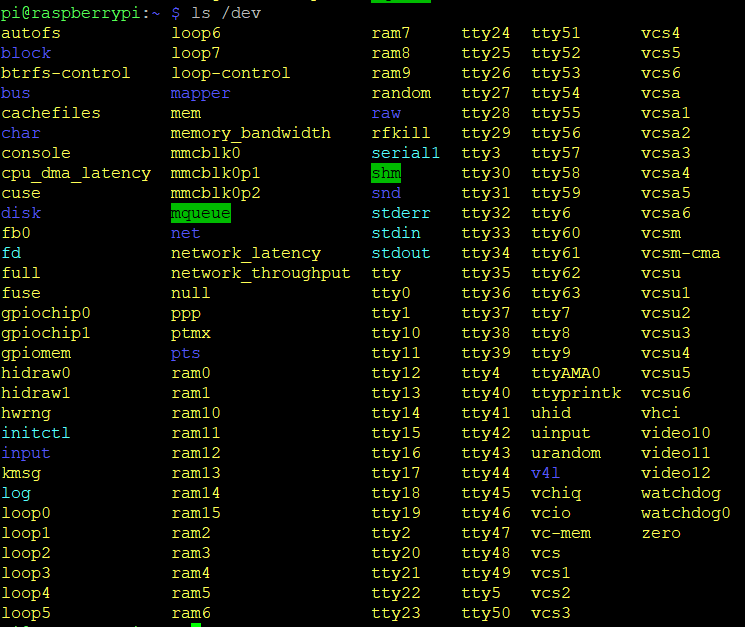
To identify which device name the dongle is connected to, you will need to run:
ls /dev
You might need to do it twice, once before you connect the dongle and once after to be able to identify which one is the device name. The BleuIO includes a bootloader which allows you to easily update the firmware (or flash your own application to the dongle, more on that HERE). When starting up, the dongle will open up a COM port for the bootloader for 10 seconds to allow you to update the firmware (or flash your own application). Afterwards it will close that port and open a new port for the BleuIO application which is the one we're interested in here. You can run:
lsusb
It should list a device with the ID: 2dcf:6001 when the bootloader is active but change to 2dcf:6002 after 10 seconds when the application is running.
NOTE: The device name may vary and may not be the same as in the picture above.
Step 3
You will need a serial communication program to communicate with the dongle. For this tutorial we will be using Minicom. You can get Minicom by running:
sudo apt-get install minicom
Now, to start using the dongle run the following command if, for example, your dongle is connected to the device name ttyACM0:
minicom -b 9600 -o -D /dev/ttyACM0

Step 4
Now try typing an AT-Command. For example AT .
If you get an OK response that means the dongle is working.
Done
Great job! You are now ready to start using BleuIO!
Now check out the different AT Commands available or how to get started using scripts.
Mac OS X
Step 1
First connect the dongle to your Mac.
Step 2
To identify which device name the dongle is connected to, you will need to run:
ls /dev/cu.*
You should see something like:
$ ls /dev/cu.*
/dev/cu.Bluetooth-Modem     /dev/cu.iPhone-WirelessiAP
/dev/cu.Bluetooth-PDA-Sync  /dev/cu.usbmodem123456781
The dongle should show up as: /dev/cu.usbmodem123456781 if it shows up with a different name use that instead.
When starting up, the dongle will open up a COM port for the bootloader for 10 seconds to allow you to update the firmware (or flash your own application). Unfortunately this is not as of yet available on Mac. Afterwards it will close that port and open a new port for the BleuIO so you might need to wait a few seconds before doing the next step.
Step 3
You can either use the Mac OS X built in Terminal and screen or an external communication program to communicate with the dongle. For this tutorial we will show how to get started using terminal and screen and also a popular serial communication software called Minicom also via the terminal.
With Screen:
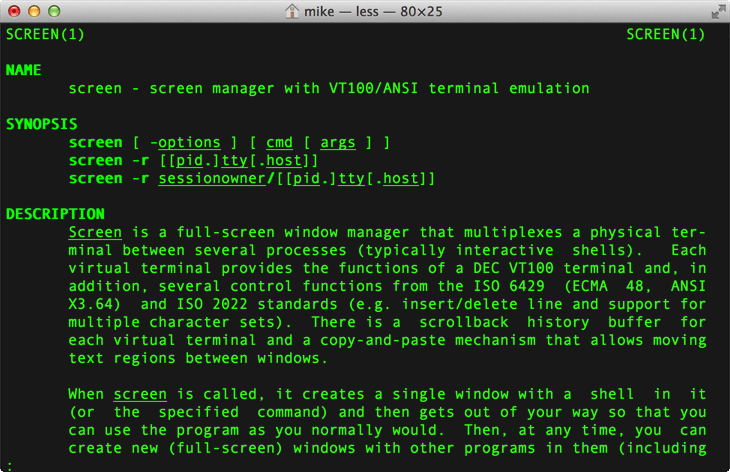
Simply type:
screen /dev/cu.usbmodem123456781 9600
With Minicom:
If you have Homebrew* you can get Minicom by simply running:
sudo brew install minicom
(If you don't have Homebrew click here to find out how to install it)
Now you need to setup Minicom by running:
minicom -s
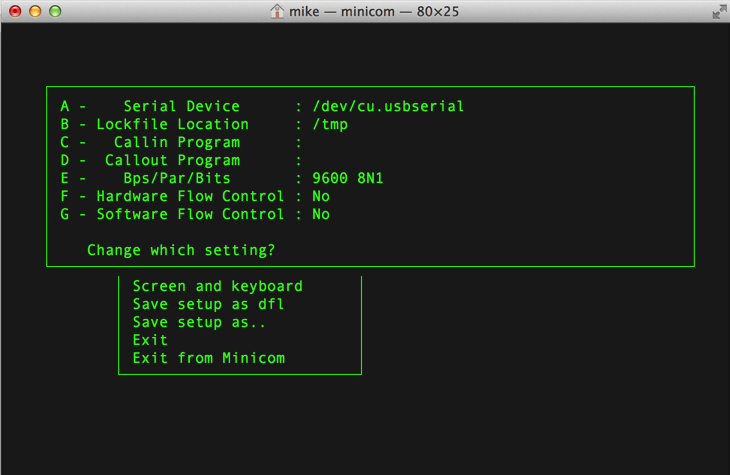
Go to Serial port setup > Serial Device and type in: /dev/cu.usbmodem123456781 in the field and press enter. Then Save setup as dfl.
Now, to start using the dongle just run:
minicom
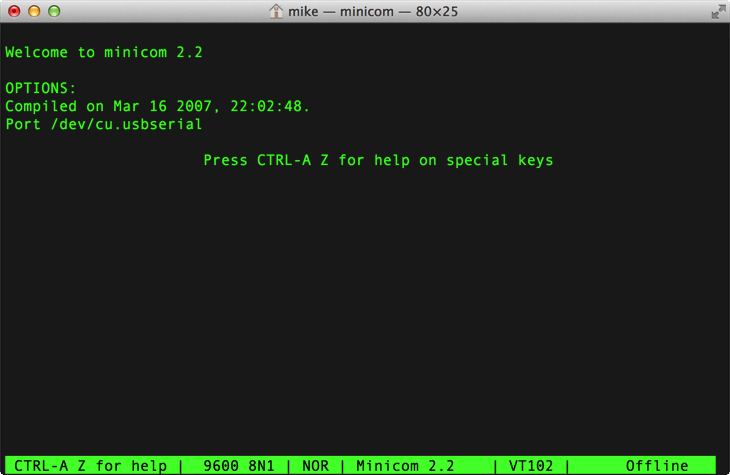
Step 4
Now try typing an AT-Command. For example AT .
If you get an OK response that means the dongle is working.
Done
Great job! You are now ready to start using BleuIO!
Now check out the different AT Commands available or how to get started using scripts.
Python
Pypi
Bleuio Python library is available on PyPI (the Python Package Index).
Before starting to install our library, make sure your you have the latest Python installed on your system.
If you have never installed a library from pypi, you must install the pip tool enabling you to download and install a PyPI package. There are several methods which are described on this page. Now Install the library by running
pip install bleuio
pip automatically downloads and installs the most recent library on your system in the correct directory. To check that the installation went well, you can launch a Python interpreter and run the following lines:
from bleuio_lib.bleuio_funcs import BleuIo
my_dongle = BleuIo()
my_dongle.start_daemon()
print(my_dongle.ati())
The documentation explains how to access AT commands using our library.
Example Script
You can also use our example scripts. To do that, you will need to install the module pySerial. The easiest way to install it is through pip (which you should already have after installing Python) by running:
Python2:
pip install pyserial
Python3:
python3 -m pip install pyserial
Now you can download the script you want to use, from our GitHub page. Then open up the command prompt inside the directory where the script you want to run is. Then run:
python scriptname.py
NOTE: You will need to manually change the COM port in the script to which ever your dongle uses. The number may vary from machine to machine.
Follow the video tutorial to learn how to get started using the BleuIO.
Javascript
Requirements: Chrome 78 or later and you need to enable the #enable-experimental-web-platform-features flag in chrome://flags
Open chrome://flags/#enable-experimental-web-platform-features in Google Chrome browser.
Bleuio Javascript library is available on npm(Node Package Manager). You can use chrome.serial to create web apps that can access the BleuIO AT commands easily using this library.
Install the library by running
npm i bleuio
npm automatically downloads and installs the most recent library on your system in the correct directory. To check that the installation went well, follow the simple readme file from
https://www.npmjs.com/package/bleuio
Follow this video if you find any difficulties.
Alternatively you can use our example script from our GitHub page
More info about the chrome.serial:
chrome.serial: https://developer.chrome.com/apps/serial
Serial API: https://reillyeon.github.io/serial

